It was during a dusty afternoon in my workshop that I watched an ordinary guitar transform into an extraordinary masterpiece. The mesmerizing *crackle finish* was the magic ingredient, splintering under my hands into a tapestry of intricate lines. This transformation didn’t just change the guitar; it forever altered my approach to guitar customization, showcasing how a simple finish could encapsulate an artist’s spirit and stories. Dive with me into the world of crackle finish guitars, where each pattern tells a tale of artistic evolution.
As someone who has immersed myself in lutherie since 1994, I’ve witnessed countless creative finishes breathe new life into instruments, turning them into personal statements. The crackle finish stands out, captivating with its vintage appeal and unique texture. Through this guide, you’ll learn not just how to achieve this effect, but also understand why it resonates with both seasoned musicians and budding guitarists. Let’s embark on this creative journey, where artistry and craftsmanship coalesce into something truly unforgettable.
What is a Crackle Finish?
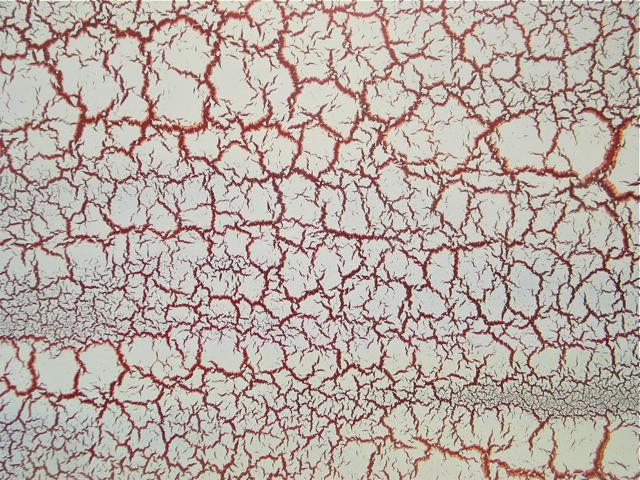
The crackle finish didn’t just become a trend by chance; it represents an intersection of artistry and engineering in the world of guitars. As someone deeply invested in the history of guitar aesthetics, I find the crackle finish particularly fascinating. The 80s crackle design takes me back to an era where bold colors and unique finishes mirrored the electrifying music scene. This intriguing finish isn’t just about aesthetics; it’s a testament to a player’s identity, setting their instrument apart in a sea of standard finishes.
The crackle finish holds a special place in the history of guitar aesthetics, reminding many of the vibrant designs popularized in the 80s. My exploration of instrument finishes has taught me how critical these visual aspects can be to a player’s identity and instrument value. Modern vs vintage guitar finishes are constantly evolving, yet the crackle designs boldly embody a timeless appeal, demanding attention and admiration.
In essence, a crackle finish involves a special painting technique where the top layer of paint cracks to reveal an undercoat color. This process creates a web-like pattern, each crack unique to the instrument. It’s not merely a technique; it’s an artistic endeavor that requires precision and patience. The interplay of colors through these cracks transforms the guitar into a piece of art, resonating with musicians who seek both exceptional sound and striking visuals. Each crackling pattern tells a story, making the finish an integral part of the guitar’s character, much more than just a surface treatment.
Why Choose a Crackle Finish?
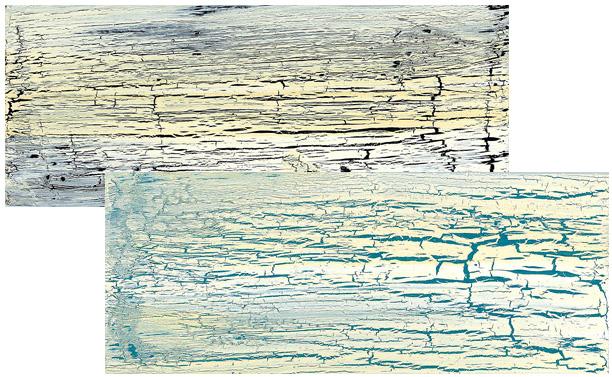
With so many finish options available, what makes the crackle finish the go-to choice for many players? Over the years, I’ve discovered that choosing a crackle finish is more than just about looks; it’s an expression of individuality. This aesthetic stands out among other guitar paint jobs, offering a distinctive look that makes your instrument truly yours. While exploring various guitar finish options, I’ve realized that a crackle finish speaks to the boldness within every musician.
In my years of designing instruments, I’ve witnessed how a unique finish can resonate with a musician’s personal style, enhancing their connection to the instrument. The intricate web of lines and patterns in a crackle finish tells a story, echoing the artist’s own journey. Unlike traditional finishes, the crackle texture adds an alert sensory dimension to the visual appeal, often sparking conversation and admiration among fellow players.
Ultimately, choosing a crackle finish connects the musician and the instrument in a way that few other styles can. As you delve deeper into the world of guitar finishes, consider how a crackle finish not only enhances the visual allure of your guitar but also intertwines with the narrative of your musical expression.
How to Create a Crackle Finish
Gathering Your Materials
Before you embark on creating a crackle finish on your guitar, gathering your materials is an essential step that lays the foundation for success. As a luthier, I understand that selecting the right crackle paint products and tools is crucial. The quality of these materials directly influences the aesthetics and durability of your finish. When you choose wisely, you ensure your guitar’s surface will beautifully reflect the textural intricacies you desire.
This stage isn’t just about assembling items; it’s about recognizing the contribution of each component to achieving a professional crackle effect. Opt for premium paints specifically designed for finishing wood guitars, as they offer the best adhesion and crackling properties. And don’t forget the importance of high-quality brushes and protective gear—these will make the application smoother and safer.
Embarking on the material-gathering phase with foresight and quality in mind will set you up for a rewarding application process, which we will delve into next. Securing the right materials ensures that your journey toward a stunning crackle finish begins on the right note.
Preparing the Guitar
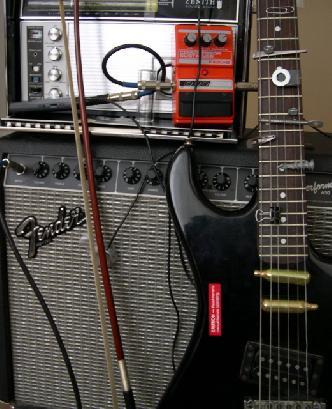
In my journey of lutherie, I’ve learned that preparing the guitar is the bedrock of achieving any stunning finish, especially the crackle finish. Before diving into the artistic frenzy of crackle effects, ensuring that your guitar is flawlessly prepped is key. From my years of hands-on experience, I can affirm that any oversight, even the smallest, can manifest as annoying blemishes later.
The initial step is to meticulously sand your guitar, a process I’ve found indispensable. This removes any existing finishes and scratches, providing a smooth surface ready for the next stage. Next, applying a base coat painting is pivotal. This not only serves as the backdrop for your crackle artwork but also significantly impacts its effectiveness. Selecting the right type of base coat is crucial, determining how well the crackle finish will adhere.
Such detailed preparation ensures the crackle finish you’ll apply next adheres beautifully, enhancing the guitar’s final appearance. As we transition to the application phase, appreciate the importance of this prep work—it paves the way for crafting a finish that’s both aesthetically captivating and durable.
Applying the Crackle Finish
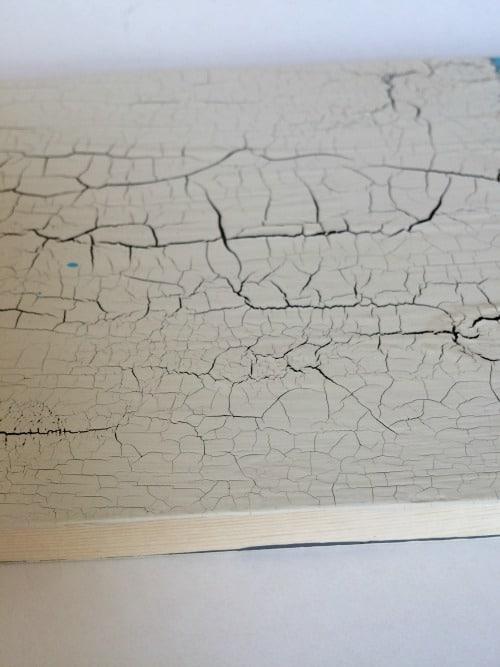
When it comes to applying the crackle finish, the process intertwines meticulous preparation with a touch of creative experimentation. This stage is where the transformation truly begins, turning a plain surface into a striking work of art. In my journey perfecting guitar refinishing techniques, I’ve found that success lies in understanding the delicate interplay between the base coat and the crackle medium.
The application begins by evenly spreading the base coat, ensuring it is fully dry to provide a stable foundation. Once set, I delicately apply the crackle paint, a step that requires keen attention to texture and application technique. Using a synthetic bristle brush, I strive for consistent coverage, as variations here can lead to common crackle paint mistakes such as uneven cracking or undesirable patterns. It’s crucial to work swiftly with controlled strokes, as the medium begins to react almost immediately, creating the striking patterns we seek.
This artistic process doesn’t just contribute to the guitar’s visual appeal—it complements the instrument’s acoustic resonance when executed correctly. As we advance to the finishing touches, maintaining the balance between form and function elevates the instrument both as a piece of art and a musical companion. Understanding these nuances enhances the aesthetic allure while respecting the instrument’s core acoustic properties.
Finishing Touches
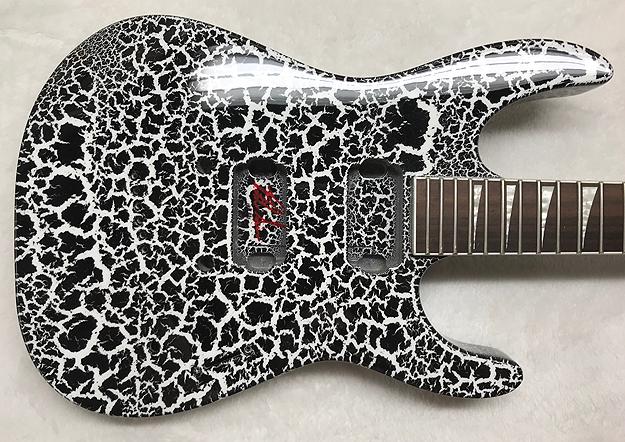
The final touches in your guitar crackle finish journey are where artistry truly shines. This is the crucial step that not only enhances the visual appeal but also contributes significantly to the playability and longevity of your instrument, reflecting your personal craftsmanship. Drawing from my editorial experience with the Savart Journal, I have come to recognize these nuances in finishing wood guitars as pivotal components in ensuring a successful guitar paint job.
Those last applications of clear coat, for instance, can either turn a project into a masterpiece or detract from the many hours invested. It’s at this stage that I choose sandpaper ever-so-carefully, making sure each stroke enhances the crackle effect without compromising the quality of the underlying layers. Paying attention to details like humidity and temperature during application can further ensure the durability and texture of the finish.
In wrapping it up, these finishing touches bring together everything you’ve learned from preparing the guitar to applying the crackle finish, ultimately marrying your artistic vision with technical execution. As we segue into ‘Common Mistakes to Avoid’, these insights serve as a foundation to understand not just what to do, but how each step integrates with the broader crafting process.
Common Mistakes to Avoid
Through years of experimentation and learning, I have encountered numerous hurdles in achieving the perfect guitar crackle finish. At the outset, one might think that applying the crackle effect is straightforward, but the reality proves otherwise. Crackle paint mistakes can be frustratingly easy to make and often require time-consuming corrections. What if I told you that avoiding a few key mistakes could dramatically transform the quality of your crackle finish? Understanding these pitfalls is crucial to navigating the refinishing process smoothly.
One common error is neglecting the preparation phase. Without properly prepping your guitar, the crackle finish will not adhere well, leading to poor and uneven results. It’s vital to thoroughly clean and sand the surface to ensure it’s free of dust and oils. Another frequent oversight is rushing the drying times between layers. Patience is key here—allow the base coat to dry completely before applying the crackle finish to achieve optimal effect.
Additionally, I’ve learned the hard way that applying the crackle product too thickly can muddle the desired effect. Use a light touch for better control over the crackling process. Lastly, mixing different brands of paint and finishes can result in chemical reactions that compromise the integrity of your work. Stick to products known to work well together.
By being mindful of these common mistakes and adopting proper guitar refinishing techniques, your journey toward creating a stunning crackle finish will be far more rewarding.
Conclusion
As you consider the journey of creating your guitar’s unique finish, what personal touch will you bring to make it truly yours? This question anchors your exploration into the art of the DIY crackle finish, a beloved method of guitar customization that transforms a standard instrument into a canvas of expression.
Reflecting on my journey in instrument making, I believe every luthier should explore various finishes, including the crackle finish. It is not only about aesthetics but about the joy in crafting a personalized instrument. From understanding the nature of the crackle effect to carefully applying it to your guitar, each step invites creativity and patience.
Gather the right materials, follow the preparation guidelines diligently, and embrace the artistic process. Whether you are a seasoned luthier or a dedicated hobbyist, navigating common pitfalls and applying those finishing touches will elevate your project. Sharing this knowledge enhances our collective practice and fuels my passion, driving me to explore and teach these creative pathways. With your personalized crackle finish, your guitar becomes more than an instrument—it becomes an artifact infused with your unique essence.
FAQs
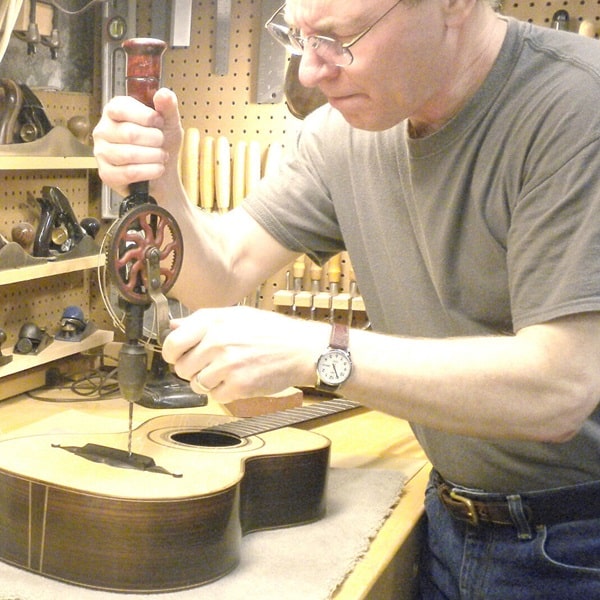
R.M. Mottola, an engineer-turned-luthier, revolutionizes stringed instrument design with his deep focus on acoustics and ergonomics since 1994. As editor of the Savart Journal and a key contributor to American Lutherie, Mottola merges science with artistry in lutherie. He enriches the field with his extensive knowledge, shared through his Liutaio Mottola website, making him a beacon in the world of modern instrument craftsmanship.
