Have you ever experienced the moment when a beloved guitar seemed beyond repair, only to discover that a simple tool could restore its harmony? As a seasoned luthier, I’ve witnessed the transformative power of guitar bridge clamps firsthand. While many consider these clamps auxiliary tools, the real story is much deeper. Did you know that using the right bridge clamp can improve the resonance and longevity of your instrument?
Guitar repair tools have evolved, but none are quite as indispensable as the bridge clamp. When wielded with precision, this tool not only repairs but also enhances, offering DIY guitar enthusiasts an opportunity to delve into DIY guitar repair with confidence.
In this article, I will guide you through the nuances of choosing and using guitar bridge clamps, sharing insights from my own luthier journey. Prepare to explore the world of bridge clamps: their importance, variety, and the subtle art of application.
What are Guitar Bridge Clamps?
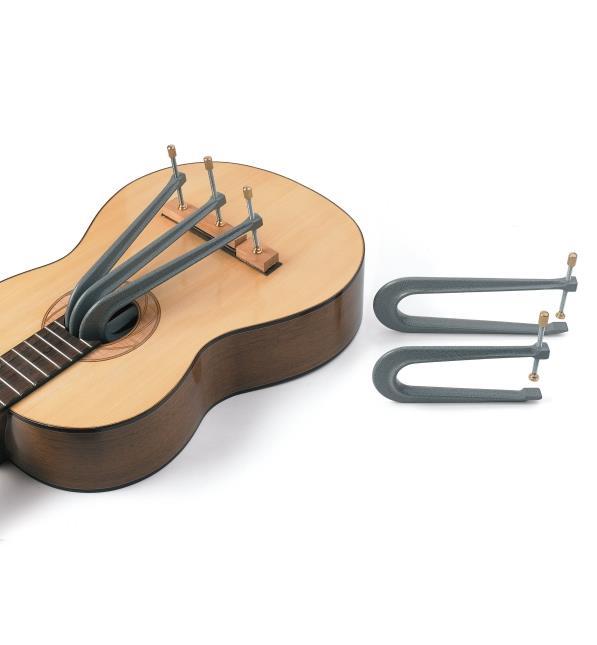
In my lutherie practice, I often see misconceptions about the types of bridge clamps available, each designed for specific needs. Did you know that the right bridge clamp can make or break your guitar repair project? When it comes to repairing or building guitars, understanding the tools at your disposal is crucial. Guitar bridge clamps are a perfect example of this. These clamps play a pivotal role in ensuring that the bridge is securely attached to the body of the guitar, a process essential to the instrument’s structural and tonal integrity.
The right clamp will not only hold the bridge in place during installation until the adhesive dries but also apply the correct amount of pressure—a key factor in preventing future failures. Inadequate or uneven clamping can lead to gaps, poor sound transmission, and eventual detachment, which underscores the necessity of choosing the appropriate types of bridge clamps. Some are designed for specific body shapes or bridge designs, offering differing levels of clamping force and adaptability. In my experience, striking the right balance in these elements results in a more reliable and aesthetically pleasing outcome.
This understanding of clamps transforms what might seem like just another tool into an indispensable ally in maintaining your instrument’s quality and longevity. With this knowledge, you’re better equipped to dive into more complex repair and installation aspects, with confidence in your chosen tools.
Why Use a Guitar Bridge Clamp?
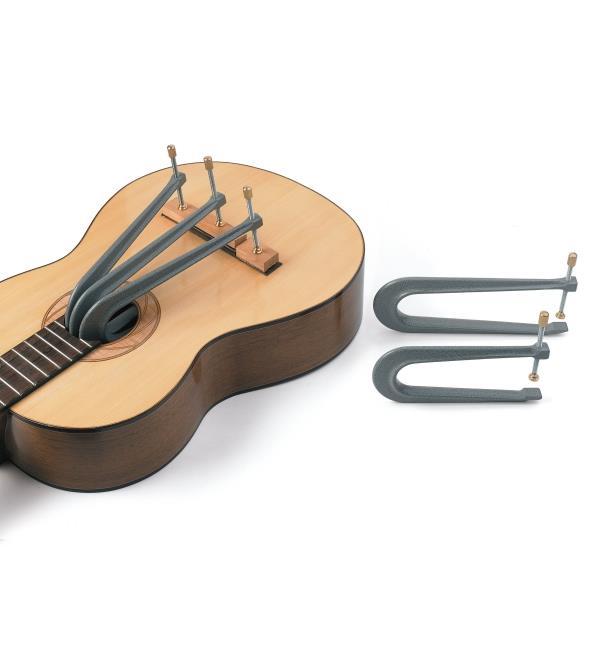
Have you ever struggled with glue separation in your guitar? A good bridge clamp can save your project! Through decades of *hands-on experience* in guitar maintenance, I’ve discovered that using a bridge clamp is not just about convenience; it’s about ensuring the *lasting integrity* of your instrument.
The importance of a reliable bridge clamp became evident during my early years of guitar repair. A misplaced or weak *clamping pressure* can lead to a myriad of problems, from uneven glue distribution to eventual bridge detachment. This tool is integral to the process of gluing a guitar bridge, providing the necessary stability to maintain the correct alignment and pressure until the adhesive cures properly.
Moreover, a bridge clamp offers substantial advantages in terms of *longevity*. When secured correctly, the bridge will hold firm against the tension of the strings, preventing warping and other potential issues. I’ve seen first-hand how a well-fitted bridge increases the overall performance and durability of a guitar—a crucial benefit for any musician or hobbyist dedicated to preserving their craft.
In essence, incorporating a bridge clamp into your *guitar maintenance* routine not only simplifies the repair process but also enhances the longevity of your instrument. It’s a tool that has become indispensable in my toolkit, transforming frustrating repairs into straightforward, rewarding tasks. With this understanding, you’re better equipped to appreciate and utilize these clamps in your own guitar maintenance journey.
Who Should Use a Guitar Bridge Clamp?
Are you an aspiring luthier? Understanding the tools of the trade is essential for your growth. Knowing who should use a guitar bridge clamp is a crucial step in your journey. From amateurs to seasoned luthiers, I’ve seen firsthand that anyone invested in guitar repair can benefit significantly from mastering these indispensable tools.
I’ve spent years honing my skills and finding that *bridge clamp tutorials* can transform an ordinary guitar enthusiast into a capable restorer. This transformation isn’t limited to professionals; even *beginners* embarking on their *first repair project* can find immense value in employing these clamps. The experience not only fortifies one’s technical skills but also instills confidence.
Seasoned luthiers will tell you that using a guitar bridge clamp is as much about *precision* as it is about craftsmanship. It’s a technique that demands patience and practice but offers endless rewards in terms of improved guitar sound and playability. Essentially, anyone eager to elevate their *guitar luthier techniques* should consider integrating this tool into their repair toolbox.
How to Use a Guitar Bridge Clamp
Preparing for Bridge Clamping
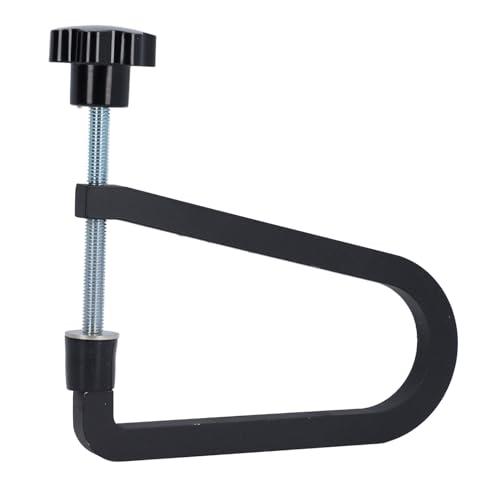
When gearing up for bridge clamping, thorough preparation is the cornerstone of success. In my experience, *proper preparation* sets the foundation for successful repairs—*don’t skip this critical step*. Before diving in, ensure you have all the *essential guitar repair tools* at hand. This includes a high-quality bridge clamp, c-clamps, and wood glue. Carefully inspect the guitar for any cracks or loose fittings that may need attention prior to clamping. Having a *clean, organized workspace* is pivotal, as it helps streamline the repair process and reduces the risk of errors.
Assess the bridge area meticulously, checking for alignment and stability. Mark any critical points that need to be clamped down securely. It’s best to have a soft cloth or padding to protect the guitar’s finish during the procedure. By taking these steps, your DIY guitar repair will be not only smoother but more effective. Transitioning into the application phase with these preparations increases your chances of a successful repair, ensuring your bridge is properly secured and aligned.
Applying the Clamp
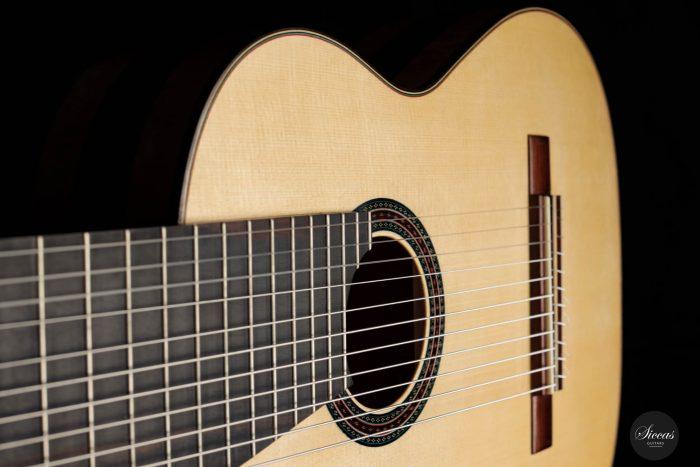
When it comes to applying the clamp, precision is key. I vividly recall my early experiences, where achieving the right clamping pressure felt elusive. Reflecting on those trials, I’ve realized that the correct balance can define the success of gluing a guitar bridge. Maintaining even pressure across the bridge is crucial to ensure both a solid bond and protection of your instrument’s integrity. Start by aligning the bridge accurately, ensuring no gaps between it and the guitar top, as this lays the groundwork for effective clamping. Gradually tighten the clamp, distributing pressure evenly. I recommend starting in the center and working outward, checking consistently for evenness. Over-tightening might seem counterintuitive; however, it can warp the bridge or damage the finish.
Once you’re satisfied with the alignment and pressure, allow sufficient drying time to ensure a solid bond. As you move to the final steps and tips, remember to reevaluate the applied pressure periodically. Understanding and mastering this step enhances the overall performance and longevity of your guitar bridge repair, ensuring you’re ready for where to purchase guitar bridge clamps next.
Final Steps and Tips
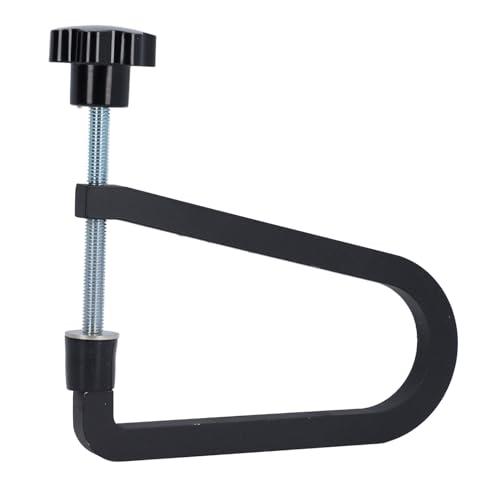
As we approach the final steps of using a guitar bridge clamp, it’s crucial to not overlook those subtle *details* that can distinguish a good repair from a *great* one. In my years of experience with guitar maintenance, I’ve seen how the final touches can dramatically affect the outcome.
Ensuring the *clamp is properly positioned* and not overly tightened is vital to prevent damage while still securing a flawless bond. Always check the adhesive for uniform spread before allowing it to cure. Many repair enthusiasts might *overlook these nuances*, but *careful attention* here elevates the craftsmanship.
Another expert tip is to periodically *check the alignment of the bridge* as the glue cures, which is a practice often emphasized in advanced guitar luthier techniques. This ensures no unwanted shifts occur during the drying process.
These final considerations might seem minute, but they contribute immensely to the *longevity and tone* of the instrument. Transitioning now to where to purchase these essential tools will equip you further on your repair journey with quality and ease.
Where to Purchase Guitar Bridge Clamps
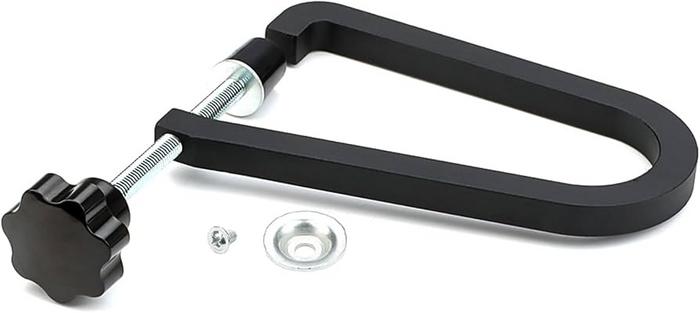
As a seasoned guitar enthusiast, I’ve spent years sourcing the best tools for my repair projects. One essential instrument in my toolkit is the guitar bridge clamp. Did you know that the quality of your tools can significantly impact your repair outcomes? Let’s explore the best options together.
When it comes to finding quality guitar bridge clamps, I can guide you towards reliable suppliers that offer great products without breaking the bank. *StewMac* is a trusted name in the industry that I’ve turned to time and again. Their dedication to quality is unmatched, and their diverse selection of clamps ensures you’ll find the right fit for your needs. Additionally, *Amazon* and *eBay* provide a vast array of options, including both new and vintage clamps, which can be reviewed extensively through user feedback to help you make an informed decision.
Don’t overlook niche music repair shops, either. These hidden gems often stock high-quality, specialized tools, such as bridge clamps, which might not be prominently featured online. I’ve found that building a relationship with such stores can lead to better insights and often a more personalized purchasing experience.
So, whether you’re a beginner or an experienced repair veteran, knowing where to purchase the best guitar bridge clamps is crucial. Understanding your sources can enhance not only your toolbox but also the overall quality of your instrument’s repair.
Review of Top Guitar Bridge Clamps

As an editor for various luthier publications, I’ve had the privilege of testing numerous clamps over the years. Now, let’s compare them to find the best for your needs. But first, let’s pose a pertinent question: What distinguishes a mediocre clamp from a great one? Join me as we dissect the features that truly matter.
When it comes to evaluating guitar bridge clamps, the build quality is paramount. In my experience, clamps like the StewMac Bridge Clamp excel due to their robust construction and reliability. Unlike some lower-end models that feel flimsy and inadequate under pressure, StewMac’s offering ensures that the guitar bridge is held firmly in place, promoting optimal sound transmission and stability.
Equally important is the ease of use. Many times, I’ve found myself frustrated with overly complex clamps that require a PhD to operate. The Luthier’s Friend Bridge Clamp is a masterclass in simplicity, combining intuitive design with user-friendly operation—ideal for both seasoned luthiers and novice DIYers.
Another factor that often gets overlooked is how well the clamp adapts to different guitar shapes and sizes. The versatility of the Jescar Bridge Clamp is unmatched, thanks to its adjustable arms that accommodate various designs without compromising on precision or grip.
Ultimately, the best guitar bridge clamps are those that strike a balance between durability, functionality, and versatility. Whether you’re repairing a vintage acoustic or building a custom electric, investing in a high-quality clamp will ensure your hard work sings true. As we delve further into this guide, consider these factors carefully to make an informed decision that resonates with your specific needs.
FAQs
What is a Guitar Bridge Clamp?
How do I use a Guitar Bridge Clamp?
What are the best Guitar Bridge Clamps on the market?
Are there different types of Guitar Bridge Clamps for different guitars?
Conclusion
Are you ready to take your guitar maintenance skills to the next level? Let’s recap what we’ve learned together! Reflecting on my experiences, I realize that mastering guitar bridge clamps is vital for anyone serious about guitar repair. Understanding what guitar bridge clamps are and their significance in ensuring optimal tension and alignment is crucial. These tools are invaluable not just for professional luthiers, but for any guitarist inclined toward DIY repairs.
We’ve discussed why using a guitar bridge clamp is essential for maintaining your instrument’s integrity. Learning how to properly apply these clamps—from preparation to the final tightening—will bolster your repair repertoire. Empowered with this knowledge, you can now align and secure your guitar’s bridge confidently, ensuring peak performance.
We’ve also explored where to purchase top-rated clamps and the importance of investing in quality. With practical insights and expert reviews, you’re equipped to select the best tools for your needs. Continue honing your skills, and enjoy the rewarding journey of guitar maintenance and mastering critical guitar luthier techniques.
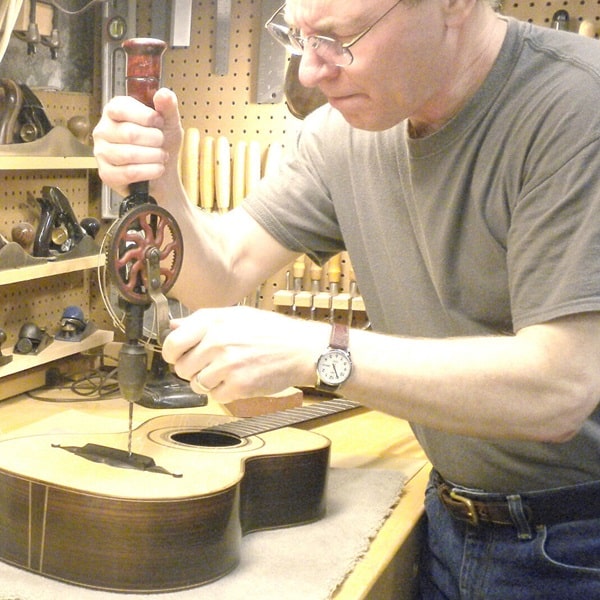
R.M. Mottola, an engineer-turned-luthier, revolutionizes stringed instrument design with his deep focus on acoustics and ergonomics since 1994. As editor of the Savart Journal and a key contributor to American Lutherie, Mottola merges science with artistry in lutherie. He enriches the field with his extensive knowledge, shared through his Liutaio Mottola website, making him a beacon in the world of modern instrument craftsmanship.
