As a luthier with decades of experience, I’ve witnessed the fascinating evolution of guitar finishes. *Imagine cradling a newly finished guitar, its sheen captivating both your eye and your ear—and you know you’ve just made magic.* This transformation often hinges on the finish you choose, and **Tru-Oil** consistently emerges as a standout choice among craftspeople. It’s not just its simplicity and effectiveness that make it popular, but the way it enhances the **wood’s natural allure** while subtly modifying the instrument’s tone and resonance.
In this guide, you’ll discover the art and science behind applying Tru-Oil to your guitar, a craft that can elevate your instrument from ordinary to extraordinary. *Whether you’re an aspiring luthier or a seasoned one seeking to explore new finishes,* this exploration offers valuable insights into *why* and *how* to use Tru-Oil. Join me as we delve into the steps and subtleties of this beloved **wood finishing process**, revealing the mystery and mastery of a finish that continues to inspire.
What is Tru-Oil?
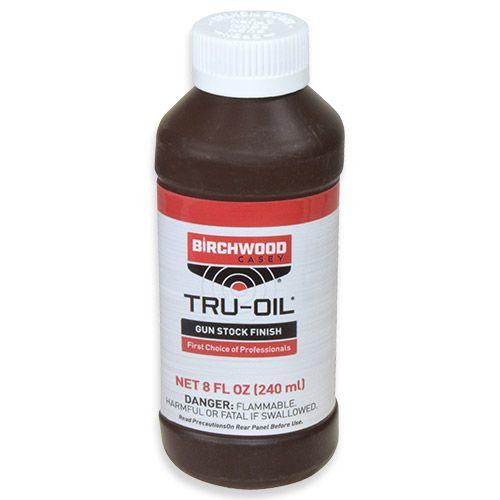
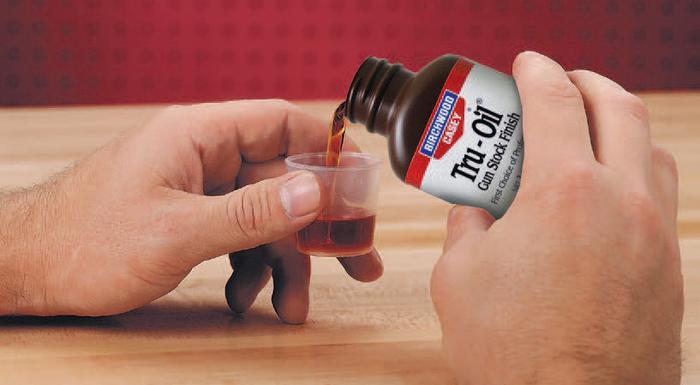
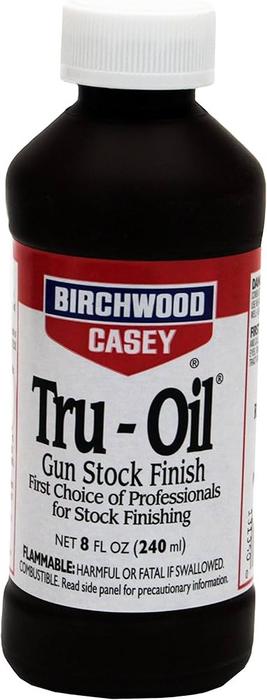
Did you know that Tru-Oil is the go-to finish for professional gunstock makers? Its properties are ideal for a high-quality, durable finish. This nugget of information piqued my interest when I first came across Tru-Oil back in the ’90s. I was immediately struck by its unique blend of ingredients, which come together to **marry aesthetics with protection**. Tru-Oil isn’t just an oil finish—it’s a carefully crafted mixture that offers the *durability of a varnish* while preserving the *natural beauty of wood*.
What sets Tru-Oil apart is its origin. Originally formulated for gunstocks, it has found admirers in the guitar-making world due to its stunning results and protective qualities. The **non-toxic nature** of Tru-Oil makes it a favorite among artisans who prioritize both safety and excellence. It’s a finish you can apply with confidence, knowing it’s *gentle on the environment* and *safe to handle*, which was a major factor in my shift towards using it extensively.
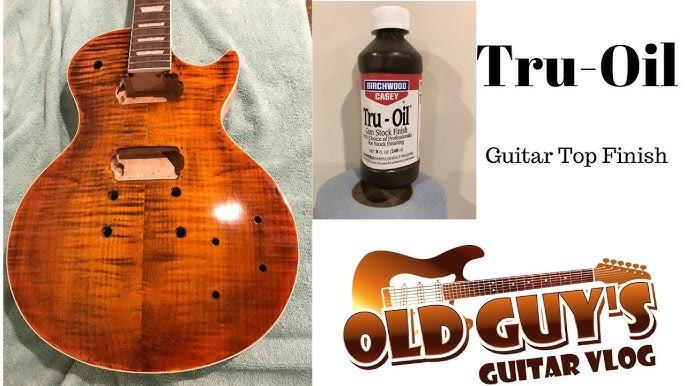
As a craftsman with decades of experience, I’ve learned that Tru-Oil offers unparalleled versatility—it’s fantastic for enhancing the grain of the wood while adding a deep, lustrous sheen. This balance of functionality and beauty is precisely why so many guitar enthusiasts swear by it for their instruments. Tru-Oil transforms a surface into a work of art, ensuring your guitar not only sounds great but also stands out with its exquisite finish.
Why Use Tru-Oil for Your Guitar?
Many finishes promise durability, but few can deliver the natural beauty and lasting protection that Tru-Oil provides. From my experience, the beauty of Tru-Oil lies not just in its finish but in its resilience. As someone who has spent countless hours perfecting guitar finishes, I can attest to the harmony of elements Tru-Oil offers—a balance of *gloss* and *protection* that truly enhances the longevity of a guitar.
When I first began my journey into guitar customization, finding a product that melds with the wood to create a seamless, aesthetically pleasing surface was crucial. Unlike other finishes, Tru-Oil sinks into the wood, highlighting its *natural beauty* and unique grain patterns rather than masking them. This oil finish offers a *subtle gloss level* that feels neither too glossy nor too muted, striking a perfect harmony that any guitarist will appreciate.
Furthermore, its *durability* is nothing short of exceptional. I have guitars finished with Tru-Oil that have withstood years of playing, rehearsals, and performances, yet they continue to shine with minimal maintenance. This experience reinforced to me that Tru-Oil is not just about beauty—it’s about sustainable excellence.
Choosing Tru-Oil for your guitar is more than just a cosmetic decision; it’s an investment in the *protection* and *longevity* of your instrument, enhancing not only its look but also its lifespan.
Who Should Use Tru-Oil?
Are you a guitarist looking to elevate your instrument’s aesthetics and sound? Tru-Oil might just be what you need. Every guitarist, whether a weekend strummer or a professional performer, can benefit from the remarkable advantages of Tru-Oil. In my years of exploring different finishes, I’ve found Tru-Oil to be particularly transformative, not just because of its ease of application but due to the *incredible depth* it brings to a guitar’s tone and finish.
For those concerned about *wood care*, Tru-Oil is a fantastic option. Its formula works wonders on various wood types, penetrating deeply and creating a durable protective layer without compromising the wood’s natural resonance. As someone who’s applied it on multiple instruments, I can assure you that it enhances both their visual appeal and acoustic performance.
The user-friendly nature of Tru-Oil is ideal for hobbyists experimenting with their first guitar project and seasoned guitar makers refining their craft. Whether it’s enhancing the *rich grain* of a maple body or accentuating the subtleties of mahogany, Tru-Oil offers a versatile solution for anyone wishing to improve their instruments.
In the *following sections*, we’ll explore the best times and methods for application, guiding you through each step to ensure your guitar achieves a stunning finish.
When to Apply Tru-Oil?
Timing is crucial in the application of Tru-Oil. From years of practice, I’ve learned that patience leads to a flawless finish. *It’s worth waiting for the right moment to apply each coat.* Ever wondered why your finish doesn’t shine as expected? The timing of application can be the difference between a professional look and a lackluster one. Understanding when to begin the application process and the precise cure time needed between *coats* has been a game-changer for my guitar projects.
The sweet spot for applying Tru-Oil is crucial. Start with ensuring you have all the materials prepped and ready, including a clean, dust-free workspace. Once you’ve established a smooth base, the first coat of oil should be applied in a warm, consistent environment to facilitate proper curing. Typically, I wait 24 hours between each coat to ensure the oil has set perfectly. Rushing this process can lead to imperfections embedded in the finish. *Trust the rhythm and pace of your material; it’s not just about adding layers but allowing each to breathe and settle fully.* The endless patience pays off as each coat adds depth and brilliance, ultimately creating a stunning, professional-grade finish.
Where to Apply Tru-Oil?
Did you know that the environment where you apply your finish can significantly affect the outcome? Choosing the right location is key. Through my own journey, having applied Tru-Oil in various environments—from dedicated workshops to simple home setups—I’ve learned that the secret lies in ensuring the right conditions for optimal drying and application. First, consider the humidity and temperature; a moderately warm, dry space works best. These conditions help achieve a smooth, flawless guitar finish, without unpleasant interruptions like dust.
Avoid areas prone to high dust levels or where fumes might accumulate. A well-ventilated space is paramount not just for personal safety but also for the sake of your instrument’s final finish. In my own experience, even the most meticulous wood finishing can be marred by an unsuitable environment. Whether it’s a small corner of a garage or a specialized furniture finish station, ensure it’s clutter-free and clean. These small adjustments can significantly influence the end result, providing your guitar with a stunning, professional look. With these insights, you’re prepared to create the ideal setting for a lasting guitar finish masterpiece.
How to Apply Tru-Oil Finish
Preparation

Preparation is key in applying Tru-Oil to achieve a flawless guitar finish. Over years of experience, I’ve discovered that meticulous sanding lays the foundation for success. Depending on the wood types used, I start with a coarser grit and move to finer ones, gradually smoothing the surface to ensure Tru-Oil adheres properly and highlights the wood’s natural beauty. Any repair work must be completed at this stage, filling in dents or imperfections for a seamless finish. With each step meticulously followed, your Tru-Oil application will not only be durable but also breathtakingly beautiful. Let’s move into the detailed steps of application next.
Application Steps
In my ongoing journey to perfect the art of applying Tru-Oil, I have developed a refined application process that ensures a smooth, bubble-free finish. The key is in how each coat is applied. Start by ensuring your workspace is clean and dust-free, as this forms the foundation for a flawless finish. Then, lightly sand the guitar body with fine-grit sandpaper, removing any debris using a tack cloth.
When you’re ready to apply, pour a small amount of Tru-Oil onto a lint-free cloth, and begin with thin coats, using long, gentle strokes to avoid drips and bubbles. It’s crucial to let each coat dry fully before lightly sanding with ultra-fine sandpaper and applying the next. This meticulous approach not only prevents imperfections but also enriches the depth and elegance of the final finish.
By mastering these steps, each guitar transforms into a polished masterpiece, seamlessly leading into the Finishing Touches to elevate the luster further.
Finishing Touches
Understanding the *finishing touches* is crucial for achieving that flawless *gloss level* on your guitar. After applying Tru-Oil, patience is key as you allow ample cure time, typically a few days, to ensure the finish hardens appropriately. Once cured, I gently buff the surface with fine grit sandpaper followed by polishing cloths to bring out the desired sheen. This step, often overlooked, can elevate your guitar’s look, creating a professional appearance that truly stands out.
Maintenance extends beyond the initial application. Regularly inspecting and lightly cleaning the surface helps maintain the finish, keeping your instrument looking pristine. Through my practice, I have learned the value of careful observation during this phase; it’s about knowing when the surface requires a gentle touch-up versus in-depth care. Proceeding with these finishing touches ensures your guitar retains its beautiful, radiant finish, so it continues to turn heads.
By mastering these final steps, you ensure not just a great finish, but lasting quality, enhancing the overall Tru-Oil experience. This guides you effortlessly into the realm of *best practices*, illustrating the importance of ongoing care in maintaining a brilliant shine.
Best Practices for Tru-Oil Maintenance
Why neglect your guitar’s finish when a little upkeep can significantly extend its life and beauty? This question resonates deeply with me, as I’ve seen firsthand how dedicated maintenance can transform the longevity of a guitar. Tru-Oil is remarkable, providing a finish that not only highlights the natural beauty of the wood but also adds a layer of protection. Yet, its effectiveness hinges on our commitment to caring for it.
Maintenance is an ongoing commitment I’ve embraced. I often share best practices with fellow luthiers to ensure that our guitars stay looking and sounding exquisite. Over time, I’ve curated a series of tips to preserve the durability and aesthetic appeal of the Tru-Oil finish.
First and foremost, use a soft cloth when cleaning your guitar. Gently wipe down the surface to remove sweat and dirt, which can compromise the finish. It’s essential to store your instrument in a stable environment, where temperature and humidity fluctuations won’t affect its wood care and integrity.
Moreover, periodically applying a thin coat of Tru-Oil will keep the finish vibrant and robust. This simple but effective routine not only rejuvenates the surface but also fortifies it against wear and tear. Each stroke is a renewal, a promise to uphold the artistry embedded within the wood.
In following these practices, we honor the craft of guitar making and ensure our instruments continue to inspire. By prioritizing maintenance, we extend the life and luster of our beloved guitars, nurturing both their beauty and their sound.
FAQs
What materials do I need to apply Tru-Oil finish to a guitar?
How do I prepare the guitar surface for Tru-Oil application?
What is the process for applying Tru-Oil to a guitar?
How do I achieve a glossy finish with Tru-Oil?
How long should I let the Tru-Oil finish cure?
Conclusion
Are you ready to make your guitar shine like never before with Tru-Oil? Your instrument deserves the best treatment. This innovative *wood finishing* solution not only enhances the *natural beauty* of your guitar but also provides a durable protection that preserves its longevity.
In conclusion, my personal journey with *Tru-Oil* has changed the way I approach *guitar finishing*. By following the detailed steps outlined in this guide—from necessary preparation to applying the finish and maintaining its allure—you can achieve a professional-grade finish that elevates your guitar’s appearance and sound. Each part of this process, when executed with patience and precision, results in a stunning and unique instrument that reflects your own artistry.
I invite you to explore this incredible finish for yourself. Whether you’re a seasoned luthier or a passionate hobbyist, *Tru-Oil* offers a *versatile and rewarding* path to achieving the perfect guitar finish. Thank you for joining me on this journey—your guitar is now ready to *shine in its full glory*.
R.M. Mottola, an engineer-turned-luthier, revolutionizes stringed instrument design with his deep focus on acoustics and ergonomics since 1994. As editor of the Savart Journal and a key contributor to American Lutherie, Mottola merges science with artistry in lutherie. He enriches the field with his extensive knowledge, shared through his Liutaio Mottola website, making him a beacon in the world of modern instrument craftsmanship.