Here’s a provocative thought: placing a phaser before or after distortion in your guitar effects chain can dramatically alter your sound—and perhaps not in the way you expect. This question has sparked endless debates among musicians and audio engineers, shaping the sonic identity of countless records and performances. Yet, even after years of exploring these nuances, I’m still intrigued by the dynamic interplay between these effects.
As someone who has spent countless hours comparing different configurations, I understand that each setup is more than a mere choice; it’s a step in crafting your unique sound. But why does phaser placement matter so much in relation to that trusty distortion pedal? In this ultimate guide, I’ll delve into the heart of this debate, armed with hands-on experience and a passion for unearthing the tools that unleash a musician’s true voice. Join me as we navigate through the intricacies of your effects chain, exploring the profound impact of this pivotal decision.
Understanding Phaser and Distortion Effects
What is a Phaser?
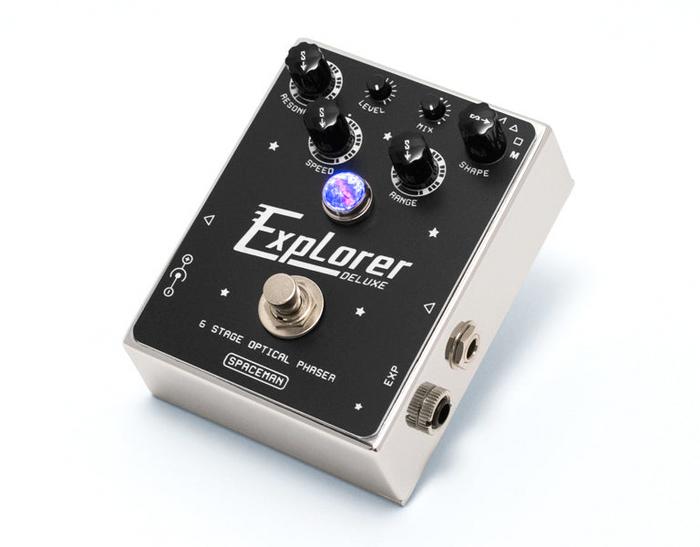
Did you know that the phaser effect was originally inspired by the way sounds drift in space and time? This captivating design reflects the phaser’s roots in modulation effects, where sound waves are subtly altered to create sweeping and dynamic shifts in tone. At its core, a phaser splits the signal into two paths and then modulates one path before combining them again. This process creates a series of peaks and troughs in the frequency spectrum, resulting in its distinctive swirling sound.
Leveraging my deep understanding of music theory, I find that the phaser can transform a guitar’s sound in nuanced ways. These transformations enrich textures and can make your playing feel more three-dimensional. However, the key to harnessing the phaser’s full potential lies in its placement within your effects chain. Proper phaser placement directly influences the interaction with other effects, such as distortion, to deliver the desired auditory experience. In the upcoming sections, I’ll guide you through these interactions to craft a sound that truly resonates.
What is a Distortion Pedal?
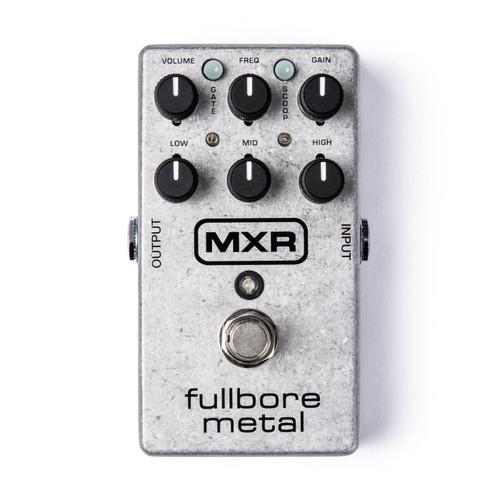
What makes the sound of a distortion pedal so irresistible to guitarists around the world? From my experience, it’s the way these pedals shape not just tone, but also emotion. A distortion pedal is a device that alters the sound quality of your guitar by pushing it into new dimensions of expression. It works by clipping the signal, adding harmonic content, which leads to the signature fuzzy, crunchy, or roaring sounds that are the cornerstone of rock and many other genres.
When exploring distortion pedals, I’ve often found that their impact is profound not just in how they modify the tone but in how they inspire performance. They allow players to convey emotions—from raw aggression to delicate sentiments—by transforming mere notes into a visceral musical statement. This transformation is what makes understanding these pedals crucial when considering their placement within your effects chain.
By comprehending the role of distortion, we can make informed decisions about Why Placement Matters, ensuring that every choice in your effects setup is purposeful and musically enriching.
Why Placement Matters
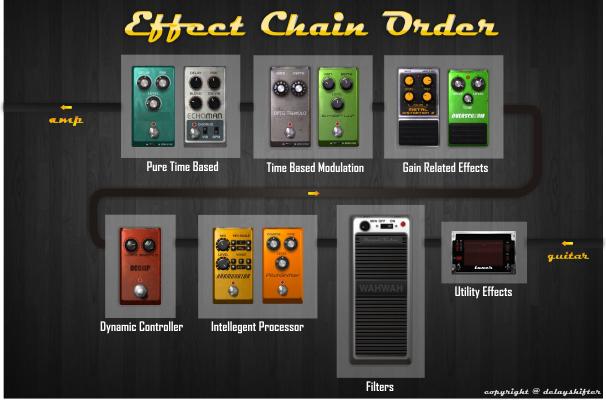
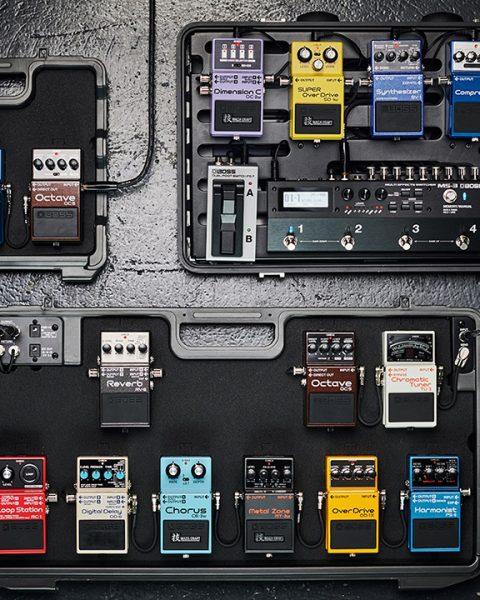
Is the position of your effects pedals the secret to unlocking your best sound? For years, I’d stack my pedals haphazardly, convinced that as long as I had the right gear, the sequence wasn’t important. But my real breakthrough in tone discovery came when I began to experiment with pedal placements. Anyone who’s been down the pedalboard rabbit hole knows that subtle changes in the order of effects can drastically transform a guitar’s sound. This is not just about tonal palette; it’s about crafting a unique sonic identity.
In my explorations with numerous pedal arrangements, I learned that the positioning of a phaser and distortion can create different emotional textures. What surprised me was how just swapping them around unveiled tones I hadn’t thought possible. For example, putting a phaser before distortion led to a dynamic, modulated drive, enhancing the fluidity of leads. Conversely, placing it after distortion provided a thick, washy sound that beautifully expanded my rhythmic sections.
The reason placement matters is somewhat analogous to how an artist selects colors for a painting. Each choice leads to a different outcome, a new layer of expression. Exploring these configurations allowed me to articulate my musical vision more vividly, reminding me that the journey of finding one’s perfect tone is as enriching as the destination itself.
Phaser Before Distortion
Benefits of Placing Phaser First
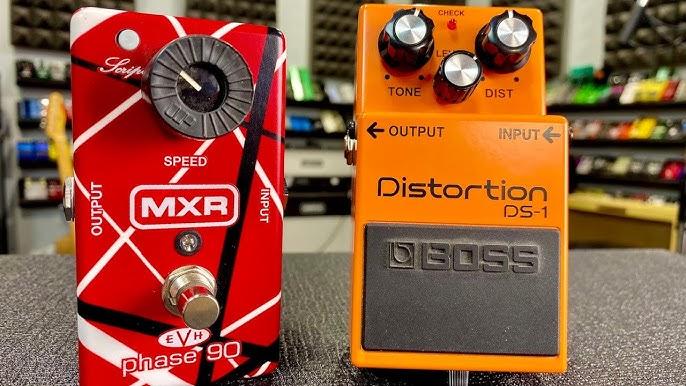
Could the secret to a richer tone lie in reversing the conventional effects order? Through my extensive experience with both acoustic and electric guitar, I’ve discovered that placing the phaser before distortion can profoundly enhance your sound quality. This unconventional placement serves to maintain clarity and depth in your audio processing, especially when handling complex signal chains.
By positioning the phaser first, I find it imparts its signature sweep to a clean signal, adding a layer of movement that carries into the distortion stage. This strategy ensures that the nuanced modulation characteristics of the phaser don’t get lost beneath the intensity of distortion. Instead of overshadowing, the distortion amplifies these textures, resulting in a harmonically rich output. Whether jamming in a band or tracking in a studio, this approach can transform your sound palette, offering both warmth and definition.
Exploring these setups has taught me how vital it is to break from tradition and tailor effects chains to suit personal taste, ultimately leading to a more distinctive and expressive guitar tone.
Recommended Settings and Techniques
What simple adjustments can take your phaser sound from ordinary to extraordinary? This is the crux of optimizing your effects chain when placing the phaser before distortion. Having experimented extensively with guitar pedal arrangement, I’ve uncovered settings that significantly enhance your tone shaping capabilities. For starters, dialing in a modest rate on your phaser ensures a lush, swirling texture that openly interacts with the distortion’s grit. This setting can emphasize the phaser’s movement without becoming overwhelming.
Another pivotal tip is to adjust the phaser’s depth to complement your distortion settings. I prefer a medium depth, which offers a satisfying modulated presence while maintaining clarity and punch. By carefully tweaking these parameters, the phaser can inject life into your playing, making the final output more dynamic and engaging. Such attention to detail reflects the profound impact that a strategically placed phaser can have within your signal chain, offering a richer, more vivid sound palette.
Phaser After Distortion
Advantages of Placing Phaser Second
What if placing your phaser after distortion unleashes tonal possibilities you never imagined? Having spent countless hours fine-tuning my effects chain, I’ve discovered that this strategic order can unlock unique sonic textures that might otherwise remain inaccessible. By positioning the phaser in the effects loop following distortion, the richly processed signal introduces a fresh dimension of tone shaping. This arrangement alters the phaser’s interaction with the distorted sound, producing wave-like modulations that ebb and flow with an organic quality.
Instead of merely adding movement to a clean signal, the phaser now weaves complex harmonic layers into the already saturated tones. It allows for smoother sweeps and enhanced clarity, offering a compelling way to explore sonic landscapes. This deviation from the traditional setup can transform mundane riffs into mesmerizing symphonies, as the phaser modulates the overtone content of the distortion.
Experimentation is key—embrace it, listen deeply, and let your guitar express the expansive tonal characteristics that lie just beyond conventional bounds.
Best Practices for this Configuration
As someone deeply committed to exploring the intricacies of pedal setups, the placement of a phaser after distortion holds a special place in my guitar rig strategy. When you place a phaser after distortion, you allow the modulation to interact with a harmonically rich signal, emphasizing certain frequencies with a unique flair. How can you experiment with this unconventional placement to find your signature sound? Understanding this method’s potential opens up a world of sonic possibilities.
To get the most out of this configuration, focus on how the phase shifts enhance the distorted signal. I recommend setting the phaser to moderate speeds and depths; this ensures a balance between subtlety and impact. In my own guitar pedal board setup, I’ve discovered that this arrangement accentuates rhythmic textures, creating a thicker, more engaging tone. Remember, experimentation with effects is key—try different phaser settings to see how they complement your existing distortion. Embrace these variations and cultivate your unique sound landscape.
How to Experiment with Your Signal Chain
Are you ready to break the rules and redefine your sound with daring experimentation? There’s nothing quite as thrilling as pushing boundaries with your effects chain, especially when it involves stepping beyond traditional setups to discover your true sound. Having spent countless hours immersed in the art of improvisation, I can attest to the magic that occurs when you rearrange your signal chain.
Start by changing the order of your effects. It might seem obvious, but simply shifting a phaser before or after your distortion can drastically alter your tone. I recall one late-night session where I placed the distortion ahead of the phaser and was met with an unexpected wave of thick, swirling textures, unlike anything I had heard before. It opened a doorway to a sonic landscape rich with possibilities.
Another powerful tool is to experiment with intensity. Adjust the settings on each pedal to dial in the exact sound you’re after. For instance, a slight tweak in the phaser’s speed can transform a muddy swirl into a crisp shimmer when placed post-distortion. Don’t be afraid to manipulate these dials while playing—a live canvas unfolds with every twist and turn.
Finally, lean into layering effects to create unique tones. By integrating reverb, delay, or even a second distortion, you can color your sound further. It’s all about trial, error, and, ultimately, serendipity. Remember, the rules serve as springboards to creativity. How will you redefine your sound today?
FAQs
What is a Phaser and How Does it Work?
Should I Place My Phaser Before or After Distortion?
Can I Use Multiple Phasers in My Effects Chain?
Conclusion
Will you choose the path of phaser before or after distortion to define your sonic identity? As I reflect on the comprehensive journey we’ve taken through the curious arrangements of guitar pedal arrangement, I encourage you to explore your own creativity. Placing the phaser before distortion can imbue your sound with rich, swirling harmonics, shaping a unique texture before the distortion grinds it into a unified wall of sound. Conversely, placing the phaser after distortion allows your signal to pulse with clarity and depth, enhancing every distorted note with ethereal fluidity. Each approach holds its own mysterious allure, offering distinct benefits and challenges. But ultimately, the most rewarding aspect is how these choices allow you to craft your unique musical landscape. With all these insights distilled, it’s my hope that this guide empowers you to make informed, personal choices, experimenting bravely to find what resonates most with your creative vision.