Introduction to Guitar Crackle Finish
Imagine holding a guitar that seems to tell a story with every crackle in its finish, capturing the essence of countless performances and passionate practice sessions. *The crackle finish* isn’t just a visual effect; it’s a *testament to the journey of craftsmanship and creativity*. As a luthier with decades of experience, I have witnessed firsthand how this unique technique transforms an ordinary instrument into a work of art. The textured surface draws you in, inviting not just admiration but a yearning to touch, play, and experience the guitar’s aged charisma.
In this guide, I will walk you through the process of achieving a stunning crackle finish, revealing the *techniques and tools* vital to mastering this art. We’ll delve into everything from selecting the right paint to ensuring the protective top coat is applied perfectly. Whether you’re a hobbyist or a seasoned guitar maker, these insights will enhance your practice and elevate your creations.
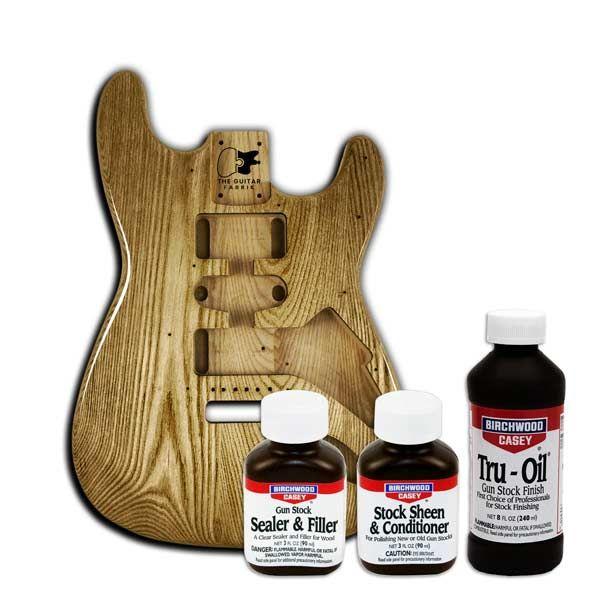
Materials Needed
Choosing the Right Paint

When crafting a stunning guitar crackle finish, the *right paint is pivotal* to achieving both aesthetic brilliance and functional soundness. Choosing the wrong paint can lead to a finish that not only looks unattractive but also compromises the integrity of your instrument. Over the years, I’ve experimented with various paint types, and I model my selections based on *durability and aesthetic appeal*.
To create an effective crackle effect, you must consider the specific *crackle paint* intended for guitars. Not all paints are created equal; some may result in a dulled effect or, worse, damage the guitar’s surface. I recommend opting for high-quality paints that are specially formulated for musical instruments. Look for options that provide *flexibility and longevity*, allowing the crackle to set properly without jeopardizing the guitar’s finish.
This prudent selection of crackle paint underlines its significance within the ‘Materials Needed’ category, ensuring that each component of the project aligns seamlessly to bring about a *professional and striking result*.
Additional Tools and Supplies
As we delve deeper into the world of guitar refinishing, the supplemental items in the ‘Additional Tools and Supplies’ category become essential allies in achieving a flawless crackle finish. Did you know that using a high-quality brush can elevate your finishing process beyond what you might expect? This minor detail can transform your work, ensuring the paint flows evenly and the crackle effect stands out vividly.
The right tools are the unsung heroes of successful guitar finishing; I’ve learned that every little detail matters in achieving the perfect look. Investing in quality brushes, sandpaper of varying grits, and tack cloths ensures that each luthier technique is executed with precision. These supplies not only make the job easier but amplify the artistry involved, allowing me to turn each guitar into a masterpiece.
Having the correct additional supplies ready will streamline the transition to the next stage, where preparation steps become the focus, setting the foundation for an impeccable crackle effect.
Preparation Steps
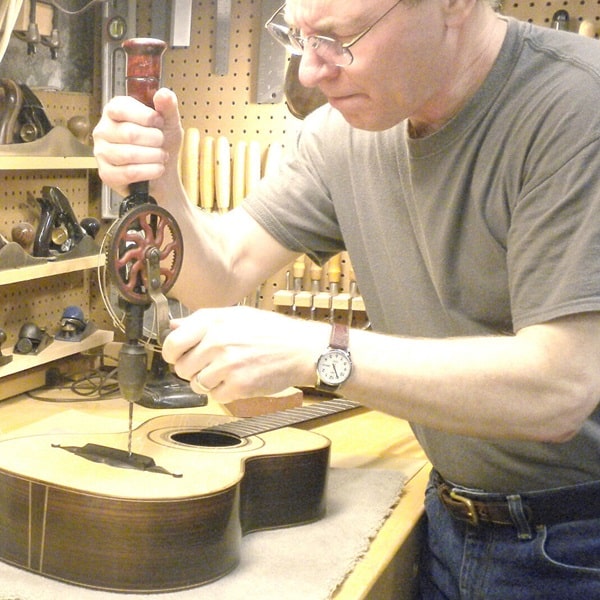
Prepping Your Guitar Surface

What if I told you that the quality of your crackle finish largely depends on how well you prepare your guitar’s surface? In the grand scheme of painting guitars, surface preparation is crucial. Through years of guitar refinishing, I’ve learned that a beautifully aged look is just as dependent on what’s beneath the paint as the layers above. I emphasize the importance of surface preparation, as a well-prepared guitar can truly make or break the finishing process.
Begin by ensuring your guitar is completely clean and free from any residues. Sanding is key—start with a coarser grit to remove any existing finish, and gradually work your way up to a finer grit for smoothing. This ensures the paint adheres properly and the crackle effect forms as intended. Don’t forget to tape off sections you wish to preserve.
Once this meticulous groundwork is laid, proceed knowing your guitar is not only ready for the base coat but also primed for its stunning transformation. Next, we delve into the application of the base coat, setting the perfect stage for an impressive crackle effect.
Applying the Base Coat
Skipping the base coat is like laying a house foundation without concrete; the structure won’t hold. This principle is crucial when diving into the *preparation steps* for a stunning guitar crackle finish. The *base coat for crackle* not only sets the stage for the ensuing dramatic effect but also shapes the overall durability of your guitar refinishing project.
In my experience, applying the base coat evenly is crucial—the way it interacts with the crackle paint can lead to extraordinary outcomes. Start by ensuring your guitar’s surface is meticulously clean and dry. Use a high-quality primer that adheres well to the guitar’s surface, providing an optimal foundation for the crackle effect. Apply it with steady strokes, allowing ample time for each layer to dry thoroughly.
Attention to detail at this stage ensures that when you move on to creating the crackle effect, the interaction between the base coat and the specialized crackle paint yields a breathtaking visual impact. Mindful preparation not only enhances your craft but also provides the ideal underpinning for further techniques that will elevate your guitar’s aesthetic to a new dimension.
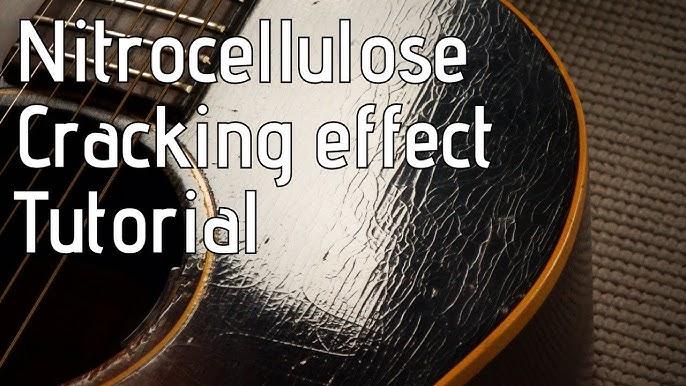
Creating the Crackle Effect
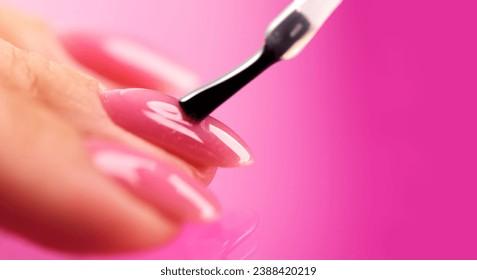
Applying the Crackle Paint
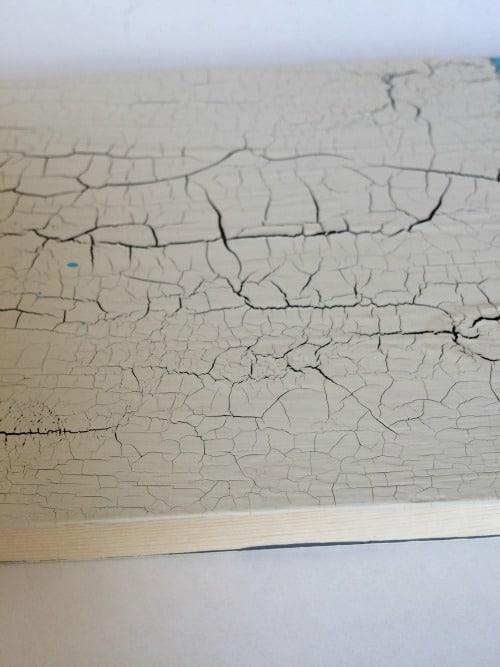
The crackle paint is more than just a language of design; it’s a dance between chemistry and artistry. Throughout my career, one of the most exciting moments comes when I apply crackle paint and watch the magic unfold. With the DIY crackle finish technique, transforming a simple guitar into a stunning piece is a deeply satisfying process. Prepared and primed, the surface of the guitar becomes a canvas ready for transformation.
Understanding the crackle effect is crucial, as it’s the backbone of this art. By applying the crackle layer over the base coat using specific techniques, you ensure the *chemical interaction* that creates the beautiful, web-like patterns. This stage requires precision to manage the thickness and application speed, influencing the resulting cracks’ size and depth. This crackle paint tutorial underlines the *importance of consistency*—brush strokes should be steady and uniform, *evoking experience and expertise* gained through years.
With each decisive stroke, I reveal the guitar’s new identity, layer by layer, making each instrument unique. This chapter sets the stage for the subsequent techniques ensuring optimal results, increasing the intricacy and appeal of your guitar’s finish.
Techniques for Best Results
Are you ready for a deep dive into the nuanced techniques that can turn a good finish into a phenomenal one? Drawing on years of hands-on lutherie, I’ve fine-tuned techniques that consistently yield exceptional finishes. Leveraging expert luthier techniques, these insights elevate your guitar crackle effect to professional levels, seamlessly following the precise application of crackle paint.
A critical step involves carefully monitoring the drying time of the crackle layer. By experimenting with thinner or thicker layers of paint, you can manipulate the final crackle pattern. Whether you desire a subtle texture or a dramatic vintage effect, understanding the paint’s interaction with different primers is key. The right contrast between base and top coat colors further enhances the visual impact of the crackle pattern. Additionally, utilizing an airbrush for the base layer can create a smoother finish, allowing the crackle to spread evenly.
Through these precise guitar finishing techniques, you move beyond the basics to achieve a finish that truly stands out. As we transition to the finishing touches and protective processes, these expert techniques serve as the foundation for a durable and stunning final product.
Finishing Touches
Applying a Protective Top Coat
Having seen many beautiful finishes ruined by neglecting a protective top coat, I stress its importance in my projects. A top coat isn’t just protection; it’s the final layer that can enhance or dull the brilliance of your work. Applied properly, it transforms your guitar’s crackle finish into a masterpiece, marrying durability with visual impact. Top-coating crackle is crucial; it seals intricate patterns, maintaining their vibrant appeal. This stage, a pivotal aspect of guitar finish types, completes the journey from foundation to finesse. Ensuring a smooth application is essential, as it prevents blemishes, capturing the charm of your artistry in a lasting sheen.
Curing and Drying Procedures

Did you know that proper curing can extend the life of your crackle finish significantly? As we reach the final stages of crafting a stunning guitar crackle finish, understanding curing and drying procedures is crucial. This stage defines the durability of your work, adding essential value to the finishing touches. The fragility of crackle paint means cutting corners isn’t an option. Patience is vital during the curing process; I’ve learned this the hard way to ensure longevity in every guitar I finish. By diligently managing this step, you allow the paint to bond and harden optimally—protecting it from premature wear.
FAQs
What is a guitar crackle finish?
What materials do I need to create a crackle finish on a guitar?
How do I prepare the guitar for a crackle finish?
How do I apply the base coat and crackle medium?
How is the topcoat applied to achieve the crackle effect?
How do I protect the crackle finish on my guitar?
Conclusion
Could the crackle finish be the bridge between vintage charm and contemporary artistry in guitar design? As I explored the intricacies of creating a stunning guitar crackle finish, I found myself captivated by how this technique beautifully blends *80s guitar aesthetics* with modern craftsmanship. The allure of the crackle effect resonates with those who appreciate a touch of nostalgia mixed with contemporary innovation.
Throughout the process, from selecting the right paint to mastering expert techniques, I realized that achieving this distinctive look requires more than just materials—it’s about understanding the interaction of different layers and how they contribute to the *unique charm* of each instrument. The protective top coat and curing procedures are crucial in preserving the intricate patterns we’ve skillfully crafted.
Thus, embracing the crackle effect isn’t just about achieving a visual transformation; it’s a venture into the depths of artistry and skill, where each step is a testament to the fusion of history and the *future of guitar design*.
R.M. Mottola, an engineer-turned-luthier, revolutionizes stringed instrument design with his deep focus on acoustics and ergonomics since 1994. As editor of the Savart Journal and a key contributor to American Lutherie, Mottola merges science with artistry in lutherie. He enriches the field with his extensive knowledge, shared through his Liutaio Mottola website, making him a beacon in the world of modern instrument craftsmanship.