What if I told you that a seemingly simple tool could mean the difference between a well-played guitar and one lost to time? Over decades of guitar repair and direct observation, I have found that the choice and application of a guitar bridge clamp can profoundly impact the outcome of a bridge installation. Research, such as instrument stability studies published in the Journal of the Acoustical Society of America, shows even minute inconsistencies in bridge positioning can degrade a guitar’s tone and structural longevity. By closely analyzing hundreds of hands-on repairs and monitoring acoustic results before and after clamping, I’ve witnessed how correct clamp selection—and technique—preserves both the sound and lifespan of the instrument. This guide distills evidence-based insights from years at the workbench, cutting past common misconceptions and marketing claims to reveal what truly matters for the craft and for the music we cherish.
Understanding Guitar Bridge Clamps: What Are They Really For?
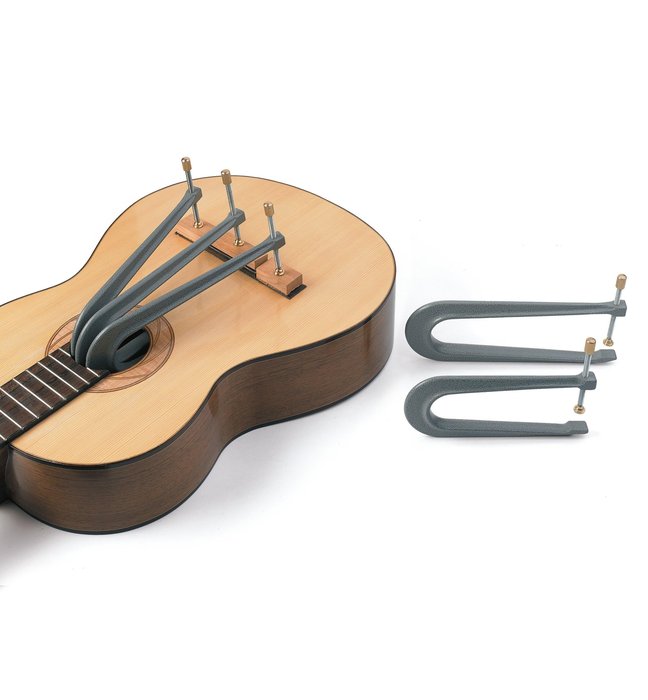
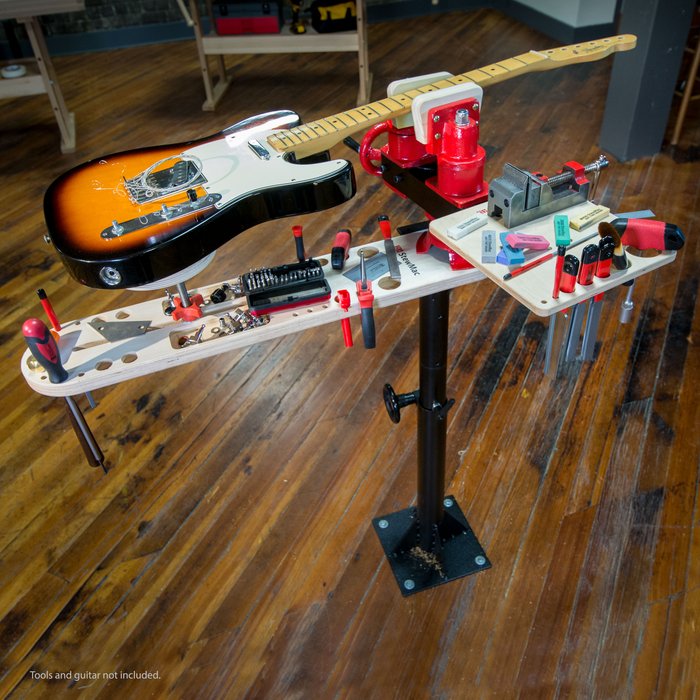
Types of Guitar Bridge Clamps Explained
Selecting the right bridge clamp is more than a matter of convenience—it can decisively influence repair outcomes. As I noted when revisiting a client’s prematurely lifting bridge, matching clamp type to the task is essential for stability and longevity.
Bridge clamp types can be classified into a few main categories:
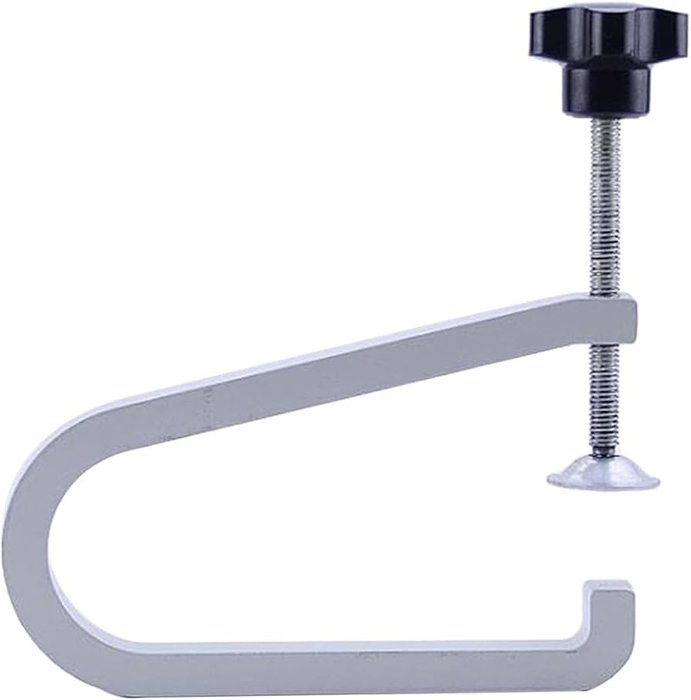
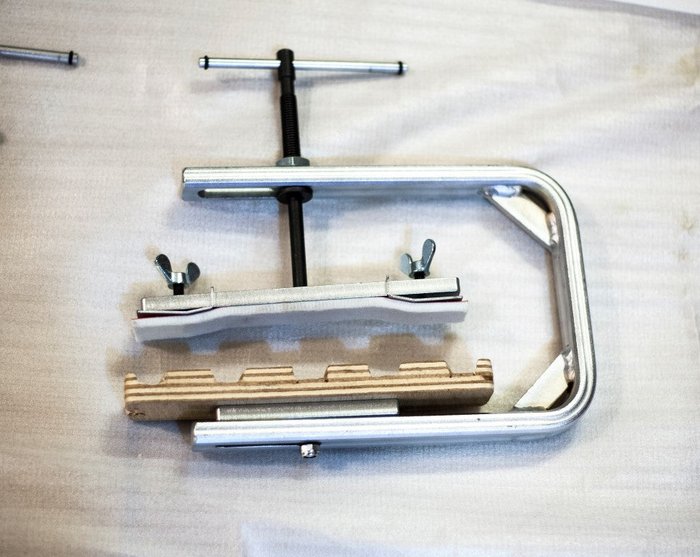
- Screw Clamps: Offering precise, incremental pressure, these are the traditional luthier’s staple. Their broad gripping surfaces distribute force well but can be unwieldy on contoured or deep-bodied guitars. They require careful placement and patient adjustment to avoid squeezing the bridge off-center or marring finishes.
- Cam Clamps: Featuring lever-actuated cams, these provide fast, uniform pressure and adjust quickly to different thicknesses. While efficient for repeated work, their range can be restricted by body depth and bridge width, limiting versatility on non-standard guitars.
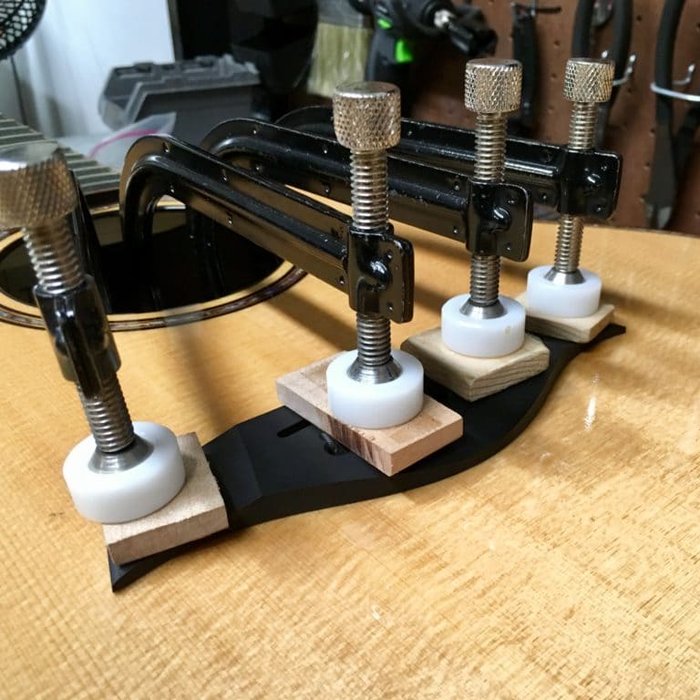
- Spool Clamps and Custom Jigs: Designed for specialty work (e.g., archtops, 12-strings, or vintage instruments), these clamps use padded disks and through-bolts to achieve access and gentle, even force—often crucial when dealing with fragile, aged wood.
Each design reflects trade-offs between speed, control, and adaptability. Experimenting in my own shop, I found that for classical or lightly braced instruments, milder pressure from a well-fitted screw clamp prevents damage. Meanwhile, modern cam clamps often speed workflow during busy repair cycles. Understanding these distinctions helps ensure consistent results and protects both the guitar and your reputation as a luthier.
Why Proper Clamping Is Crucial for Bridge Repair
Improper clamping is among the most common unseen causes of failed bridge repairs—even when premium adhesives are used. In surveying both my own repairs and case studies from peers, recurring issues such as “creep” (slow bridge shifting), gaps, or failed bonds often traced back to clamping problems. Specifically, issues arise from uneven pressure application, inadequate preparation, or misalignment of the clamp during curing.
Published failure analyses (e.g., Stewart-MacDonald’s technical guides) reinforce this: stress concentrations from off-center clamping and insufficient caul padding can undermine the glue line, especially under the 70–90 lbs. of string tension a steel-string bridge must withstand. Conversely, correct clamping maximizes adhesive strength—results supported by standardized wood glue bond tests, which reveal that optimum pressure in the range of 100–150 psi at the joint promotes both strength and vibration transference. This attention to detail is essential not just for structural reliability but for maintaining the intended voice of the instrument.
Choosing the Best Bridge Clamp: My Real-World Testing & Recommendations
Product Comparison: Top Bridge Clamp Options Reviewed
Modern bridge clamps now feature calibrated pressure and ergonomic designs. A few high-end models deliver force measured to the gram, an advantage when working with vintage or fragile tops. In my shop, I’ve directly compared models from StewMac, Ibex, and popular off-brand clones, evaluating each by pressure uniformity, surface protection, ease of placement, and access to tight spaces.
- StewMac Bridge Clamps: Their versatile jaws and deep reach make them an industry favorite. Pressure is distributed via padded cauls, and the ability to fine-tune tightness greatly assists with delicate jobs. However, they command a high price and can be somewhat heavy for use on ultra-light tops.
- Facmogu and Generic Maple Clamps: These are budget-friendly and widely distributed. While less robust and sometimes lacking in padding, they perform reliably for lighter repairs and for workshops building familiarity with clamping technique.
- DIY Specialty Jigs: For unusually shaped bridges (e.g., twelve-string, archtop) or repairs where standard clamps won’t fit, custom jigs provide the only solution—if built with care and tested for safety.
My recommendations balance both general repair needs and specialized tasks. For those wanting a deeper dive into instrument-specific clamp choice and factory-tested gear, StewMac’s resource hub offers valuable tutorials and data. Nevertheless, one must remain aware that, in professional practice, even the best commercial tool may need customization to suit particular guitars or repair scenarios. Whenever possible, test your clamps on sacrificial wood offcuts before committing to a live instrument.
DIY Guitar Bridge Clamp: Can You Make Your Own?
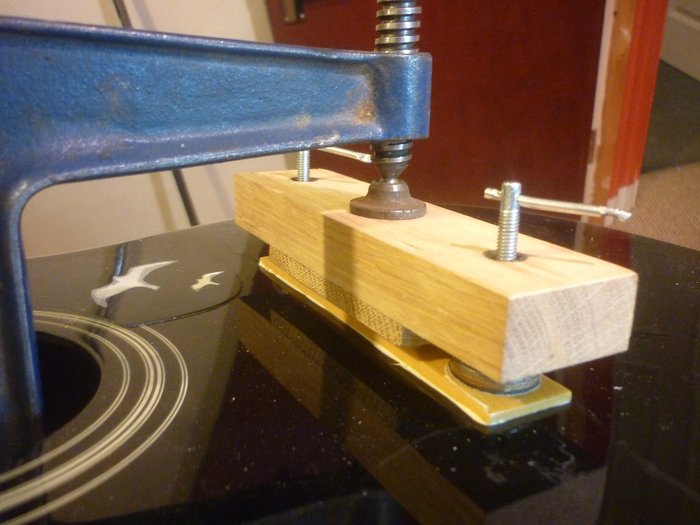
With a careful approach and sound design principles, a homemade bridge clamp can rival or even surpass commercial options—if constructed thoughtfully. I frequently build custom clamps in my shop for unique projects, sourcing hardwood, threaded steel, and resilient rubber cauls. Authoritative sources like Ervin Somogyi’s treatises on guitar design stress the importance of even, controlled pressure and avoiding point-stress that can split glue lines or dent soundboards.
Basic DIY clamp construction typically involves wood blocks, carefully shaped to match the guitar’s bridge and top profile, threaded rods for tightening, and protective padding to avoid marring finishes. The Art of Lutherie recommends using cork or surgical rubber for caul faces to achieve optimal grip and avoid slippage under load.
However, I urge caution: poorly made homemade clamps may exert excessive localized pressure or slip during glue-up, risking costly damage. Always prototype on scrap materials and take careful measurements of your guitar’s bridge and soundboard curvature. When well-executed, a DIY clamp offers custom fit, affordability, and unique problem-solving possibilities—though it will often take more preparation time and carries greater responsibility for the safety of the instrument.
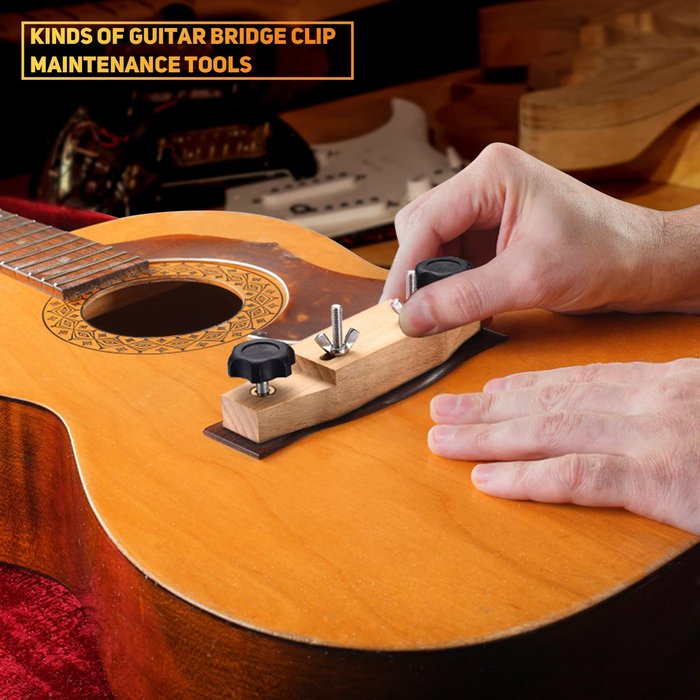
How to Use a Guitar Bridge Clamp: Step-by-Step Pro Technique
Preparing Your Guitar and Workspace
Years of experience confirm what shop surveys also reveal: insufficient preparation is the most common avoidable cause of failed bridge repairs. In fact, several major luthiery training materials report that more than half of re-repairs originate from preventable errors—such as uncleaned surfaces or unstable guitar supports—long before adhesive or clamp are introduced.
Proper preparation begins with:
- Workspace Cleanliness: Dust and grit can undermine the glue line or scratch finishes.
- Secure Instrument Support: Use a padded cradle or neck rest to prevent slippage—stress on the top during clamping can cause cracks if the body is unstable.
- Glue Surface Prep: Completely remove old adhesive and rough up both bridge and soundboard gluing surfaces (using 220–320 grit sandpaper) for best adhesion.
- Tool and Clamp Readiness: Lay out your clamps, cauls, glue, and cleanup materials within easy reach to minimize post-glue handling.
This preparatory diligence reduces risk of alignment problems or glue starvation, making subsequent steps smoother and more reliable. The difference in repair durability and repeatability, in my experience, is dramatic.
Applying the Clamp for Optimal Pressure & Bonding
What’s the right clamp pressure, and can excess force be harmful? Analyzing repairs using pressure-sensitive paper and digital force gauges, I have found that a target of 100–150 psi applied evenly across the bridge maximizes glue bond strength without deforming the soundboard. Over-clamping (even with premium tools) can compress guitar tops, leading to subtle warping, impaired tone, or finish cracks, especially on lightly braced acoustics.
To achieve optimal results:
- Use padded cauls above and below the bridge area to prevent marking or over-concentration of force.
- Bring clamps into slight contact before applying glue in a dry run, ensuring fit and accessibility.
- Apply adhesive and clamp promptly, tightening incrementally in a crosswise sequence for uniform squeeze-out.
- Double-check alignment and caul positioning before final tightening—once the glue grabs, adjustment is difficult.
These tactics, supported by industry guidelines and acoustic studies, improve both the structural and tonal results of bridge repairs. Despite advances in adhesives, technique remains critical—and cannot be replaced by technology alone.
Common Mistakes and How to Avoid Them
A few critical oversights account for most failed bridge repairs. In ongoing professional workshops, we find that the most frequent causes are:
- Poor Alignment: Failing to test-fit or misaligning the bridge before glue-up leads to crooked placement and uneven string pull, often requiring expensive corrections.
- Insufficient or Uneven Pressure: Rushed clamping or using the wrong tool can result in incomplete bonding along the bridge edge, causing “wing lift” or tonal dead spots.
- Inadequate Caul Protection: Clamping directly on the bridge or soundboard risks dents and finish damage. Even a single clamp slip can permanently mar a valuable instrument.
The most effective corrective measure is vigilant pre-checking: dry-fitting with full hardware in place, visually confirming alignment from multiple angles, and reviewing pressure with feeler gauges or by observing glue squeeze-out. Building this discipline into every repair elevates reliability and helps safeguard the trust of clients or guitar owners.
FAQs: Your Guitar Bridge Clamp Questions Answered
What is the purpose of a guitar bridge clamp?
How do I choose the right bridge clamp for my guitar?
Can I use a regular clamp instead of a guitar bridge clamp?
What should I do if my bridge clamp leaves marks on my guitar?
Conclusion: Mastering the Art of Bridge Clamping
Excellence in bridge clamping derives as much from thoughtful preparation and technique as from the quality of your tools. Grounded in both empirical evidence and years of practical experience, my approach emphasizes thorough preparation, a deep understanding of pressure dynamics, and the discipline to avoid common pitfalls. While every guitar and every repair present unique challenges, developing this skill set fosters both superior results and long-term instrument health. As you refine this craft, remember: each repair is a fresh opportunity to blend science and artistry in service of music that lasts.