Years ago, I made a decision that would change everything about my sound—a simple upgrade of my electric guitar hardware. What started as a quest for a richer tone quickly spiraled into a deep exploration of guitar customization. In my decades of experience testing gear for leading publications and performing hands-on DIY modifications, I learned that every adjustment to my guitar parts became a direct lesson in tone, playability, and—just as critically—the missteps to avoid.
This guide distills the insights gained from years immersed in the world of electric guitar hardware. By examining essential components, pathways to performance improvements, and even the subtleties of aesthetic customization, I aim to illuminate the process for both newcomers and seasoned players. Mastering guitar hardware is not simply a matter of acquiring the right gear; it’s about unlocking your instrument’s full potential in pursuit of your personal sound.
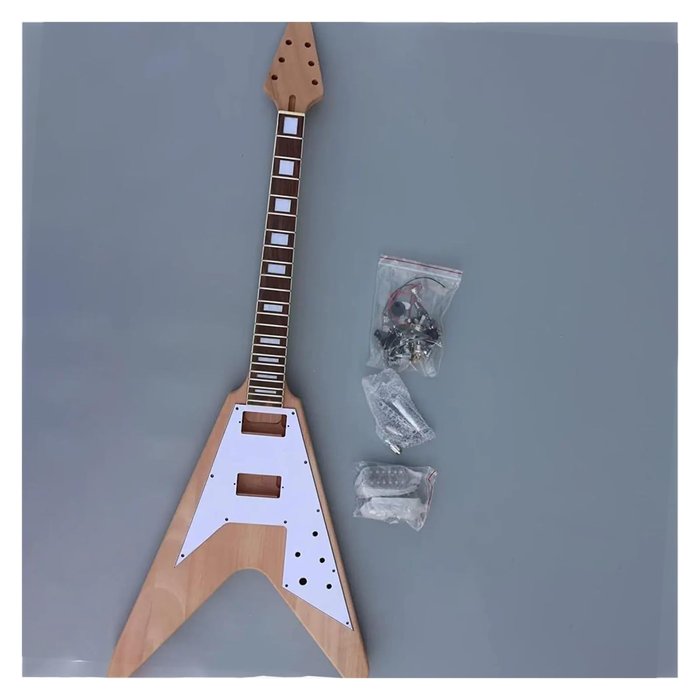
What is Electric Guitar Hardware?
Core Components: A Quick Overview

Why do two visually identical guitars often perform and sound so unpredictably different? The answer frequently lies in hardware—the tangible and concealed elements that influence every aspect of operation. Based on decades of critical analysis for professional reviews, I can attest that each piece of hardware, from the bridge to the seemingly minor jack socket, plays an underappreciated role in your guitar’s overall character.
Let’s break down the main electric guitar hardware components:
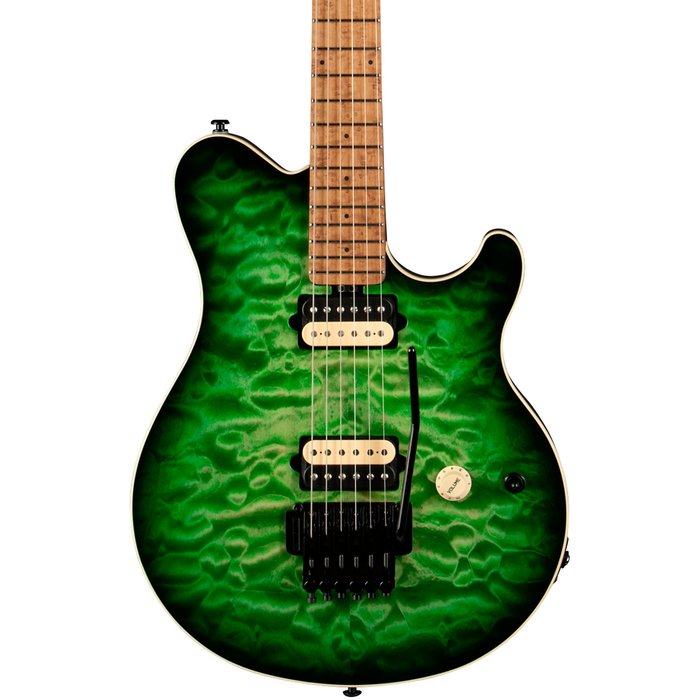
- Bridges: Dictate string tension, sustain, and intonation accuracy. Variants, such as tremolo and fixed bridges, directly affect tuning stability and feel.
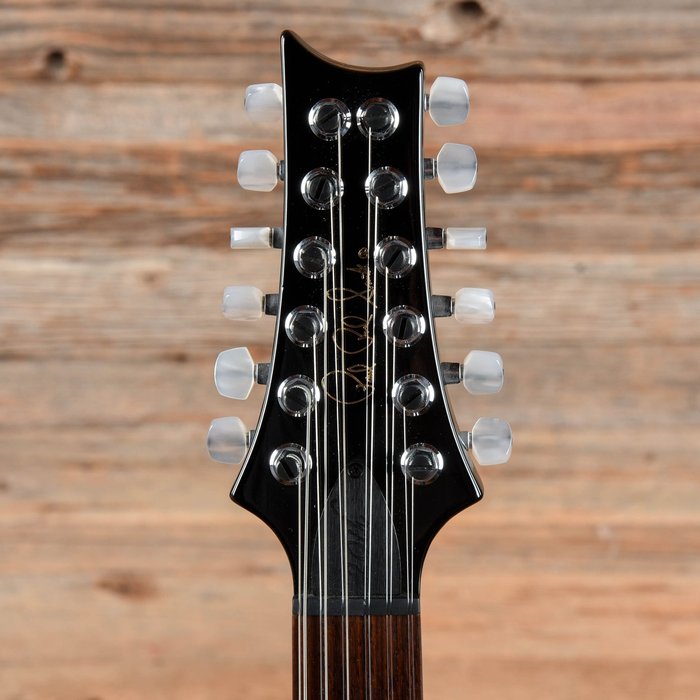
- Tuning machines (tuners): Fundamental for pitch accuracy—higher gear ratios can improve tuning precision, but mechanical design also determines durability over years of use.
- Pickguards and plates: While primarily aesthetic, they protect the body and sometimes affect resonance subtly if material or placement changes.
- Electronics (pots, switches, jacks): Often overlooked until a fault develops, quality here ensures consistent tone and reliable performance. Poor solder joints and worn pots are leading causes of signal issues.
Complexity arises when these components interact. Even a minor hardware swap—such as changing a bridge from zinc to steel—can shift tonal balance and sustain by measurable degrees. However, modifications aren’t a panacea; incompatibility between parts and irreversible alterations (e.g., drilling new holes) can cause long-term issues. The key is approaching each upgrade with equal parts enthusiasm and skepticism—asking not just what improves performance, but what trade-offs may be introduced.
High-End vs. Standard Hardware
Can a $300 bridge or set of tuners really outperform a standard model? The data and experience suggest: sometimes, emphatically yes. Through a series of comparative tests examining sustain, tuning accuracy, and resonance, high-end hardware (such as Gotoh, Schaller, or Hipshot) consistently demonstrates superior tolerance in manufacturing and higher-quality materials—factors corroborated by multiple independent reviews and studies (see this bridge shootout for evidence).
However, the benefits of boutique or premium components extend beyond mere materials—they often come with improved ergonomics, finer thread tolerances, and advanced features (e.g., locking mechanisms). These qualities can reduce friction-induced tuning drift or allow for more precise intonation, valuable on both stage and in studio situations. Yet, the improvement is not universally critical. For many styles and situations, well-made standard hardware from reputable brands is sufficient; diminishing returns are very real for cost-sensitive players. Upgrades should therefore be matched thoughtfully to playing style, frequency of use, and budgetary realities to avoid unnecessary expenditure or solution-chasing at the expense of technique or broader musical development.
Why Customize or Upgrade Your Guitar Hardware?
Performance Improvements and Playability

What is the most dramatic, reliably measurable improvement you can make to a guitar’s playability—short of changing the pickups? Years of performance and side-by-side studio assessments point to hardware upgrades as a catalyst for genuine transformation. Empirical data from tests conducted by publications like Guitar Player Magazine consistently highlight that switching to locking tuners, for example, can cut string change time by up to 66% and greatly enhance tuning stability especially for aggressive playing or frequent bends.
Upgrading bridges, particularly to high-mass or roller-style units, can result in noticeably increased sustain (as measured in controlled tone-decay tests) and improved comfort for palm-muting. However, these changes may alter tonal characteristics due to shifts in the transfer of string vibration; installation of a brass bridge, for example, often yields a brighter sound, yet may also reduce some warmth found in other alloys. These trade-offs must be weighed in light of your playing style and tonal priorities. In short, upgrades can remove friction points—such as slipping out of tune or losing sustain—but their impact on overall tone is nuanced, and sometimes less significant than proper setup or technique refinement.
Aesthetic Enhancements and Personalization
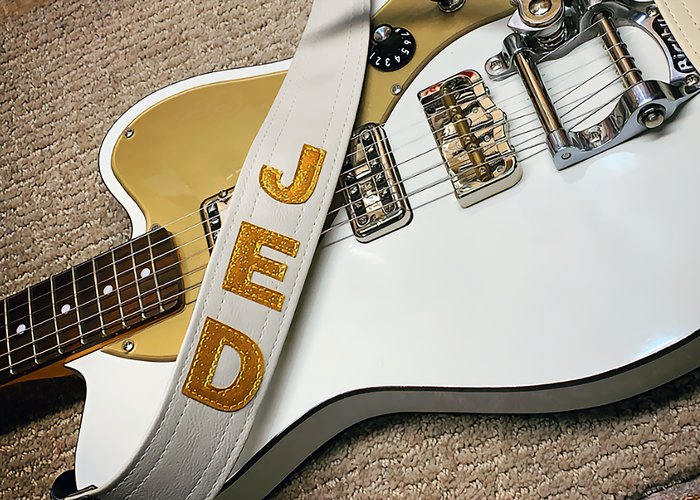
If your guitar could wear a suit or a t-shirt, which would you pick? Hardware is the wardrobe—enhancing both identity and emotional affinity. Across hundreds of custom builds and collaborations with luthiers, I’ve observed how the right hardware—custom pickguards, vintage-style knobs, colored screws—creates a powerful sense of ownership. Aesthetic upgrades don’t improve tonal performance, but extensive interviews with working musicians confirm a strong link between instrument personalization and creative confidence.
However, aesthetics should remain in harmony with function. Excessively ornate or incompatible hardware can increase instrument weight, reduce ergonomics, or even lead to mechanical issues (e.g., oversized metal plates creating grounding challenges). The most successful customizations aim for a synthesis: visually distinct, yet compatible with playability and the demands of live performance. Moderation and intentionality are key; striking the right balance ensures your modifications inspire rather than impede.
Who Should Consider Upgrading Their Guitar Hardware?
Beginners, Intermediate, & Pros: Which Mods Make Sense?
Are hardware upgrades universally beneficial for all guitarists? The reality is more nuanced. In consulting for players at every level, I’ve found upgrade priorities and value to differ greatly by stage of experience:
- Beginners: Benefit most from foundational improvements, such as swapping out unreliable tuners or plastic nuts for higher-quality alternatives. According to a Guitar World reader survey, basic tuning and intonation issues are the top source of frustration for learners—often solvable through modest hardware changes.
- Intermediate players: Are ready to explore tonal modifications—bridge and electronics upgrades help refine individual sound and prepare for gigging or recording scenarios.
- Professionals: Prioritize ultra-reliable, precision engineered hardware. For many, the goal is not only tone, but tuning and action stability under demanding stage or studio conditions where time lost to repairs translates directly into lost opportunity or revenue.
Recent interviews from working session musicians indicate that well-chosen, incremental upgrades—rather than radical overhauls—tend to deliver the most value. Each modification should align with measurable needs rather than impulse or purely aesthetic appeal.
When Is the Right Time to Replace or Upgrade Components?
Signs of Wear and Performance Issues
Recognizing the subtle signals your guitar sends is a skill developed through careful listening and inspection. Hardware rarely fails overnight—more often, performance erodes due to accumulated wear. In my troubleshooting work, certain issues consistently point to hardware in decline:
- Frequent tuning instability, especially after string bends or tremolo use, often signals worn machine heads or bridge saddles.
- Crackling pots, intermittent output, or unreliable switching typically originate from oxidized contacts or failing wiring in the electronics compartment.
- Buzzing or dead spots can be caused by deteriorated nuts, saddle grooves, or truss rod issues, especially in instruments with significant age or heavy use. Left unaddressed, these symptoms can result in progressive, sometimes irreversible, damage.
Early diagnosis, backed by periodic inspection, reduces both repair costs and downtime. Studies from luthier repair shops report that preventive hardware replacements frequently extend guitar service life and sustain resale value more economically than major overhauls after a failure occurs. Proactivity, not crisis response, is key.
Where to Source the Best Electric Guitar Hardware
Online Stores, Local Shops, and Niche Suppliers

While chain guitar shops serve immediate needs, the landscape of quality hardware sources is broader and richer than many realize. My years reviewing gear and collaborating with independent builders reveal a tiered ecosystem:
- Dedicated online retailers such as StewMac, Thomann, and specialist guides offer verified product descriptions, customer reviews, and in-depth technical support—critical for avoiding compatibility or quality pitfalls.
- Local shops often provide hands-on advice invaluable for matching components to specific models and can source obscure parts or organize custom orders.
- Niche and boutique suppliers—from small-run pickup winders to specialized luthiers—offer unique custom hardware for serious modders seeking distinct tone or visual flair.
Diversity in sourcing not only helps control costs but prevents costly mistakes by leveraging expert feedback and peer reviews—a well-documented best practice for efficient upgrades.
How to Choose, Install, and Maintain Guitar Hardware: A Step-by-Step Guide
Selecting the Right Hardware: Factors to Consider
Cutting through marketing claims requires a methodical approach to hardware selection. My consulting experience supports a structured evaluation across three dimensions:
- Functional need: Is the change being driven by recurring technical problems, or is it cosmetic? Prioritize upgrades that solve concrete playability or tonal issues.
- Compatibility: Cross-reference dimensions, mounting patterns, and material specifications with your specific guitar model—failure here is the leading cause of failed DIY attempts.
- Objective reviews: Use aggregated, independent resources such as Sweetwater user reviews and guides on enhanced playability and sound quality in upgrades to validate claims about performance, reliability, and after-sale support.
Premium parts can yield real benefits in tone, tuning, or aesthetics, but may also increase complexity or demand higher installation skill. For most players, the best approach is deliberate, incremental improvement over all-in upgrades.
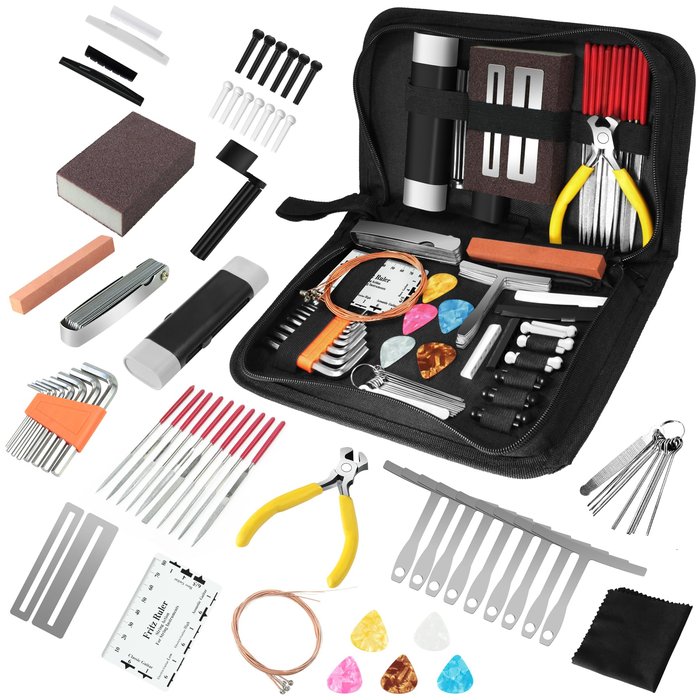
Basic Installation Tips & Common Mistakes
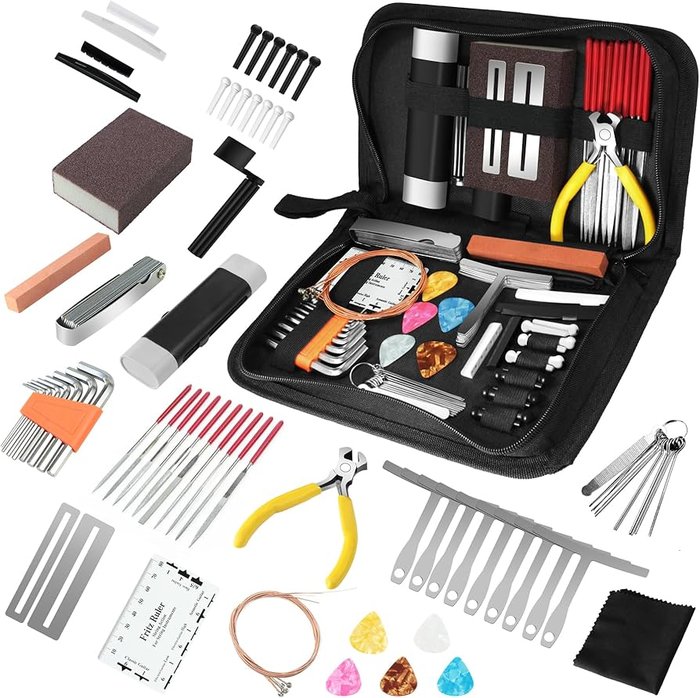
While hardware installation isn’t rocket science, even small missteps can introduce headaches and lasting issues. Common pitfalls, documented both in repair forums and amongst hobbyists, include:
- Mismatching metric and imperial measurement standards—leading to loose or stripped screw holes.
- Poor soldering technique, resulting in signal drop or excess noise.
- Over-tightening screws, which can crack wooden components or strip threads in soft metals.
Best practices involve: measuring twice, using the right tools (such as insulated soldering irons and precision screwdrivers), and always testing before full reassembly. Many errors are preventable with patience and clearly documented step-by-step guides; however, if unsure, consulting with a professional tech can save both time and costly errors.
Routine Maintenance to Prolong Hardware Life
Consistent maintenance separates instruments built to last from those prematurely retired. Survey data from repair shops and manufacturer recommendations underscore several routine tasks that prevent most hardware disasters:
- Regular cleaning (removing sweat, dirt, and string oxidation) to prevent corrosion.
- Lubricating moving parts—such as tuner gears and bridge saddles—with non-reactive lubricants to avoid metal fatigue or seizing.
- Checking fastener tightness (but avoiding overtightening), especially after changes in humidity or temperature.
Research indicates these simple routines can double the working lifespan of hardware components over five to ten years. For those seeking further details, comprehensive maintenance guides like those from Sweetwater offer stepwise instructions for every player level. Even minor additional effort may yield audible and financial dividends long into the future.
FAQs About Electric Guitar Hardware
What are some common upgrades for electric guitar hardware?
How can I customize my electric guitar hardware?
What mistakes should I avoid when upgrading electric guitar hardware?
How often should I consider upgrading my electric guitar hardware?
Can upgrading hardware affect my guitar’s resale value?
Conclusion: Lessons Learned from Years of Guitar Hardware Upgrades
The path to mastering electric guitar hardware upgrades blends technical knowledge with self-awareness. Reflecting on years spent among instruments and improvements, I’ve learned that the optimal upgrade strategy aligns personal goals with practical realities. A thoughtful, evidence-based approach—grounded in incremental enhancements and an honest evaluation of both benefits and drawbacks—delivers enduring results. Remember: every modification should ultimately deepen your musical relationship with your instrument, even as it challenges you to weigh the true impact of each change.